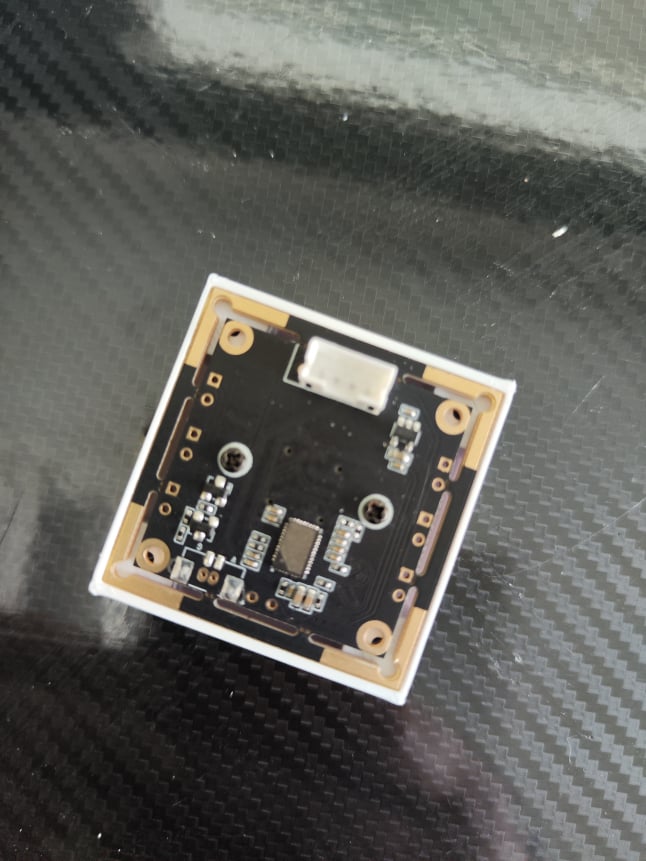
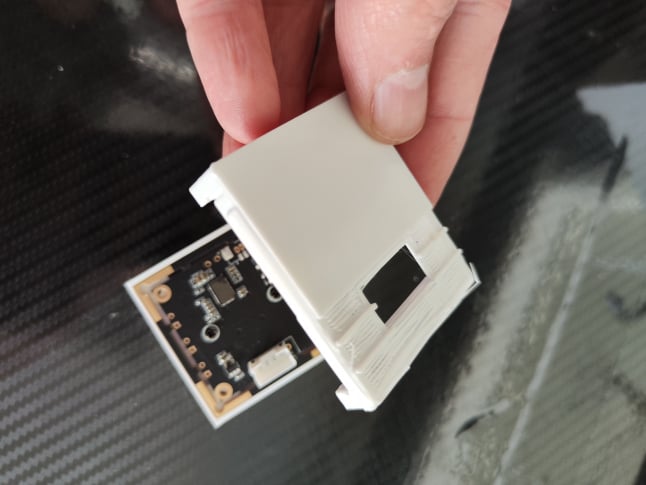
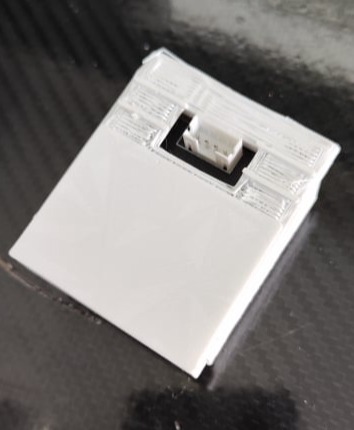
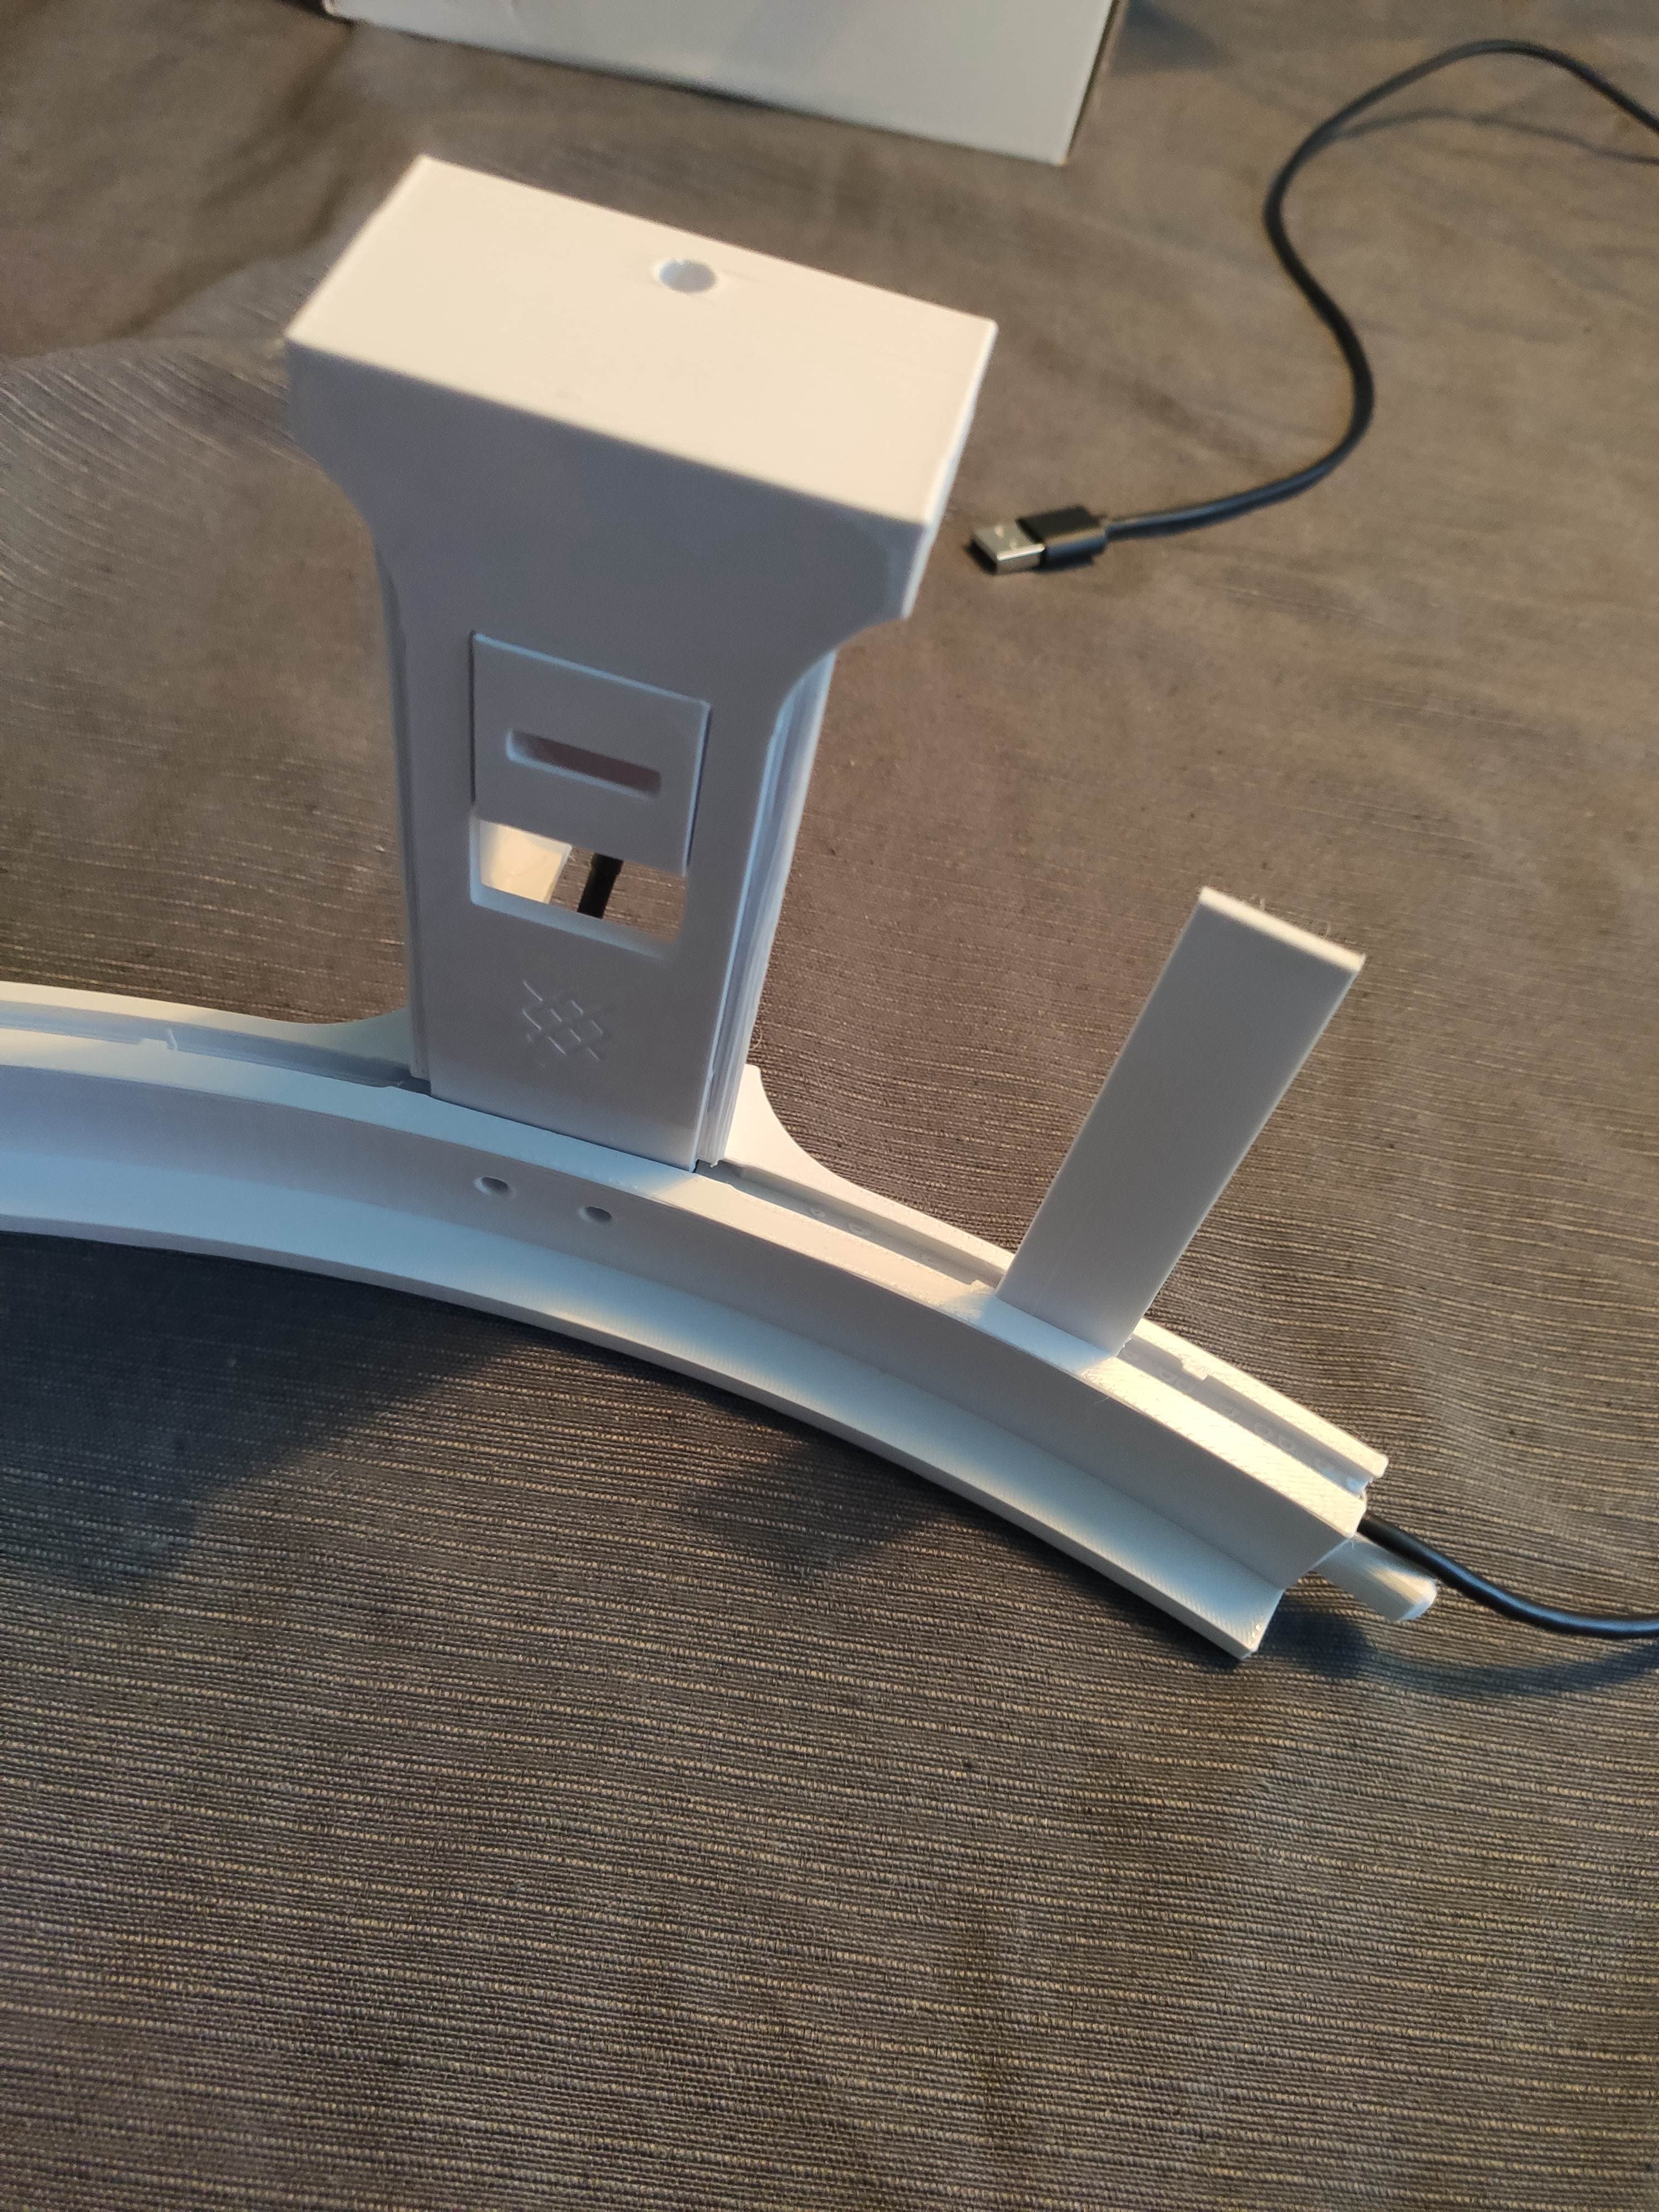
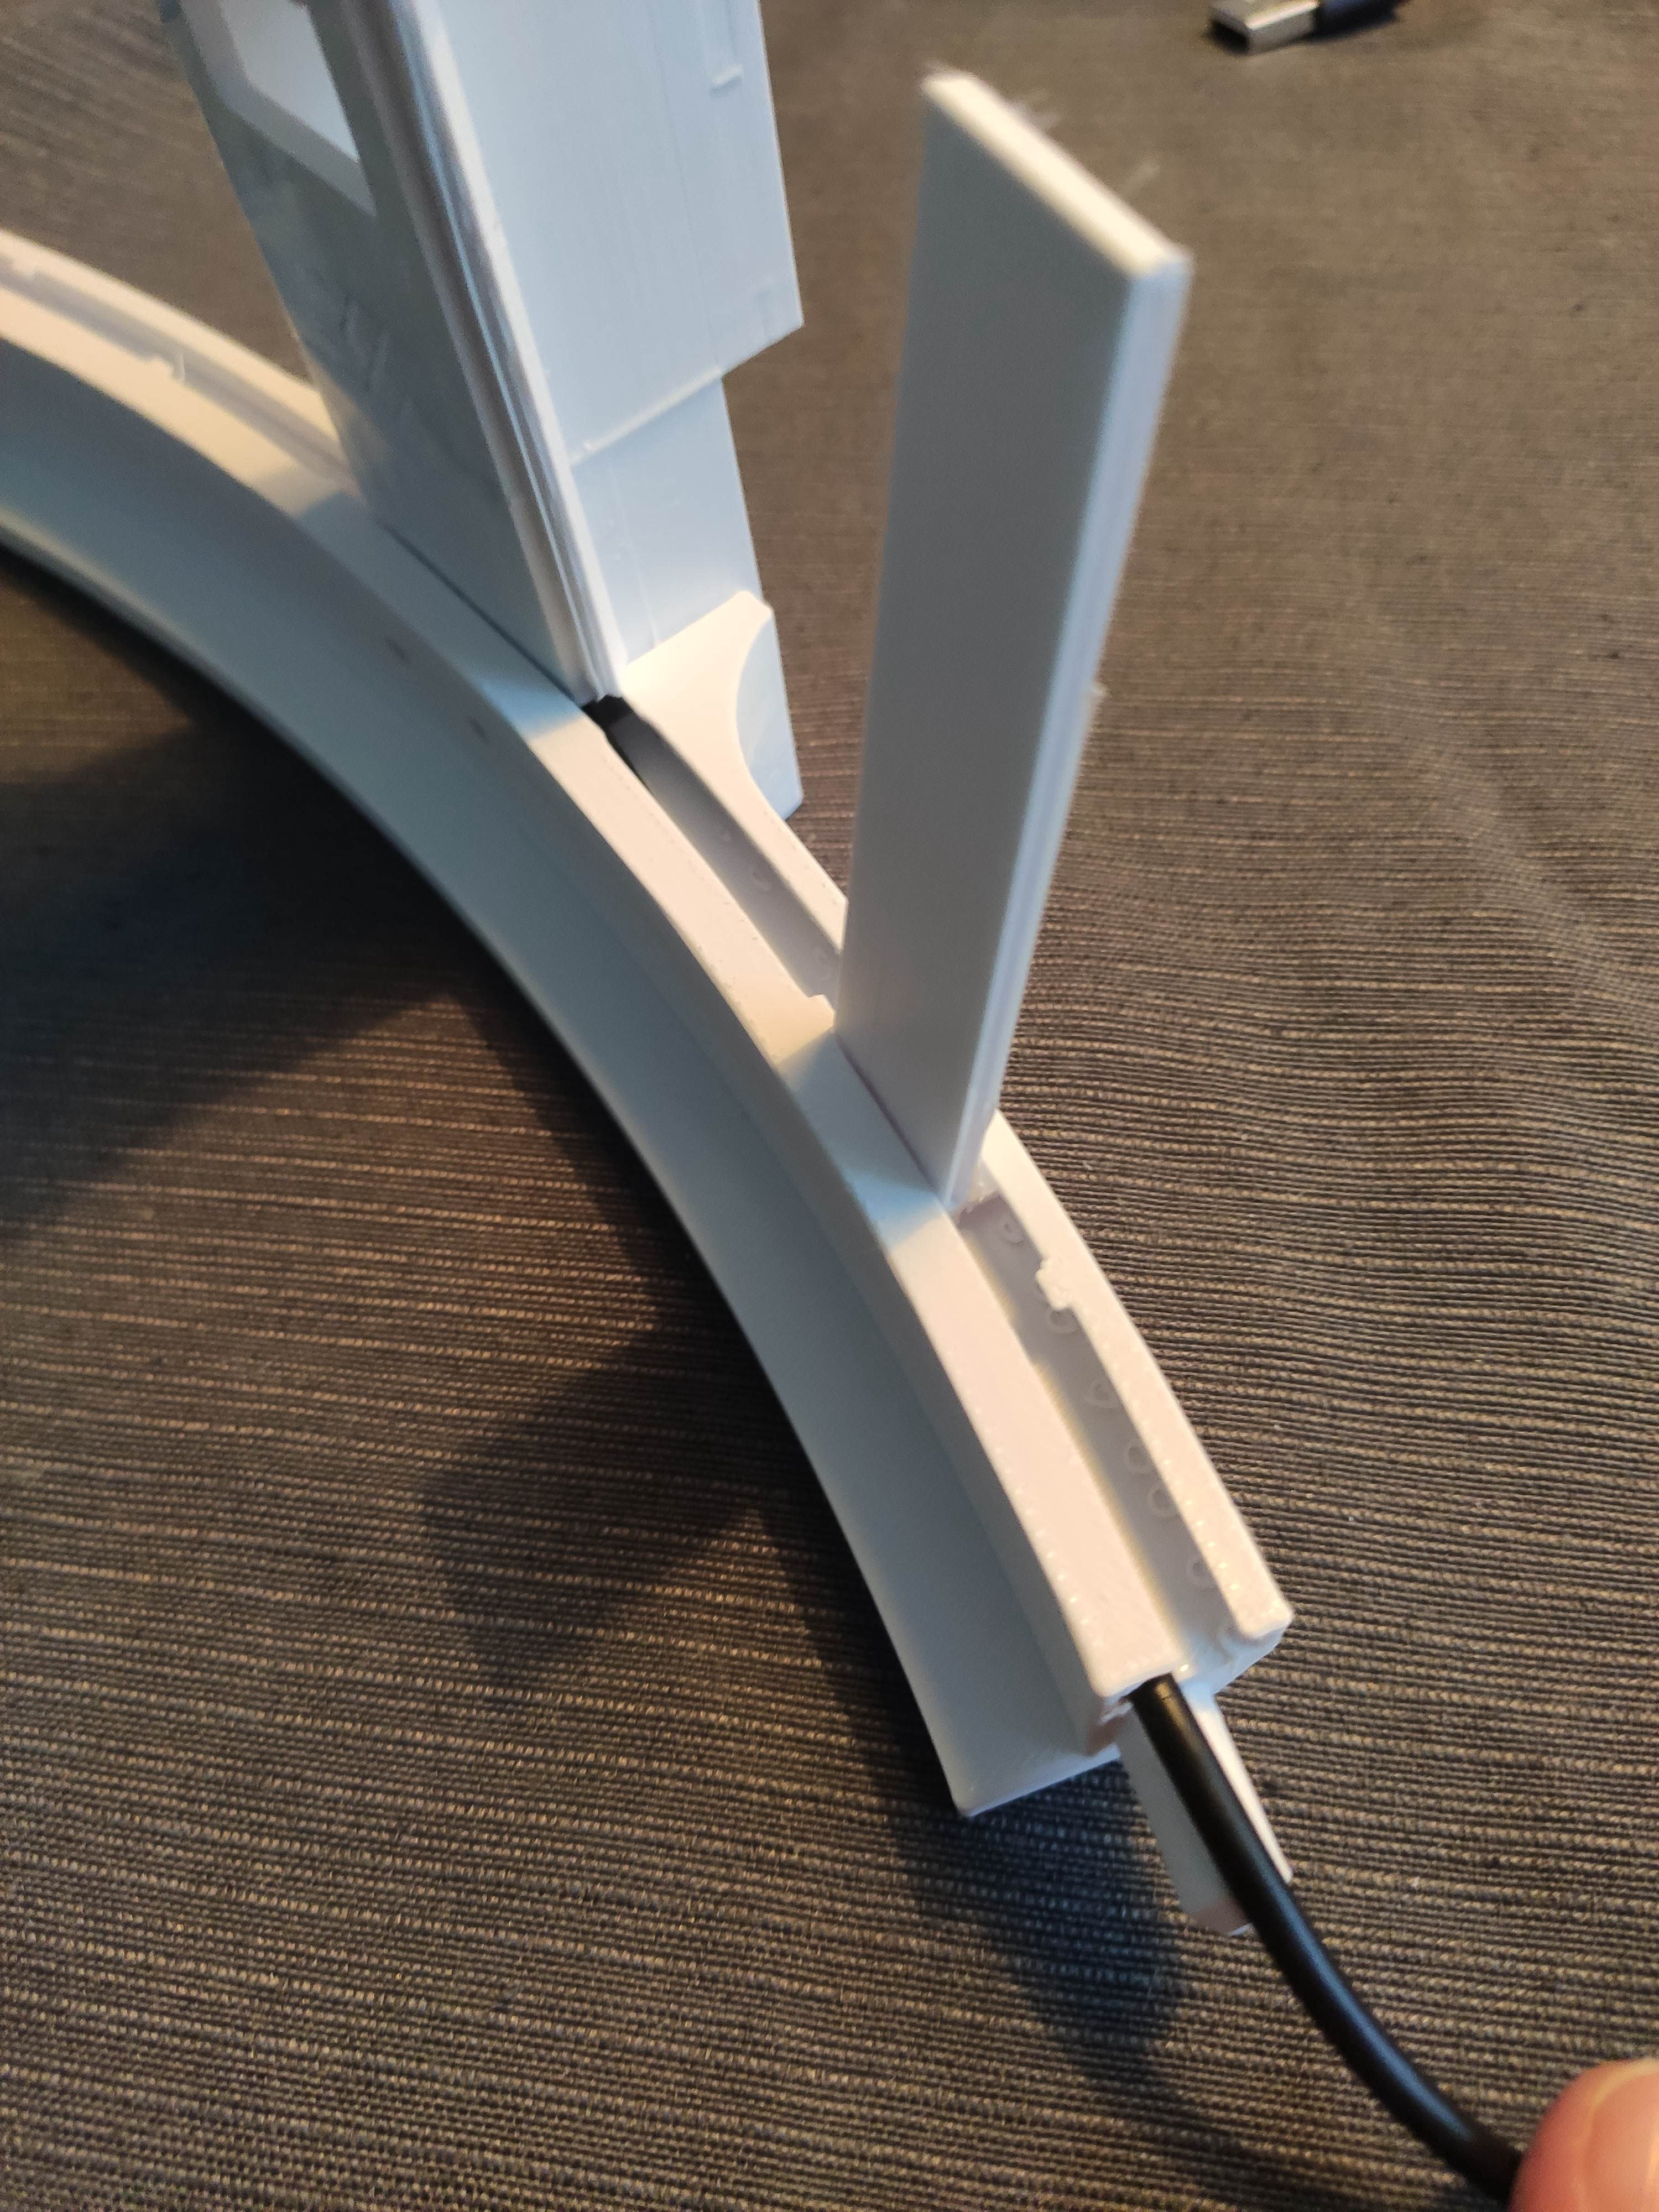
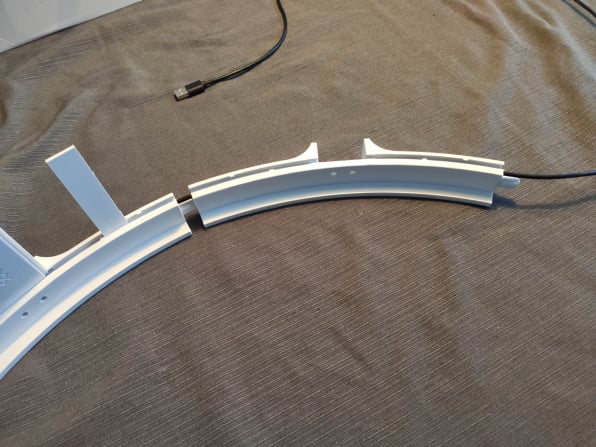
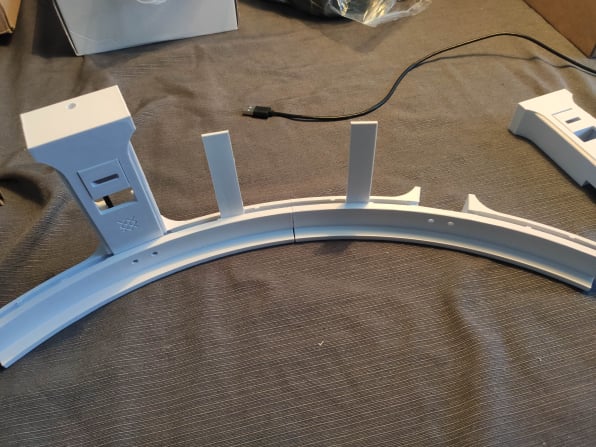
Follow the video below to build the dartstracker from the 3D-printed components. More info and pictures are below the video.
Building the surround
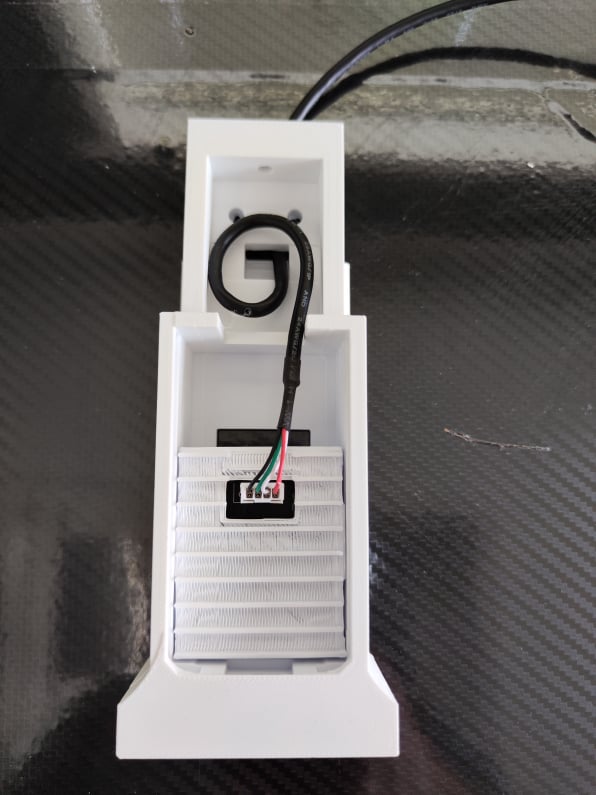
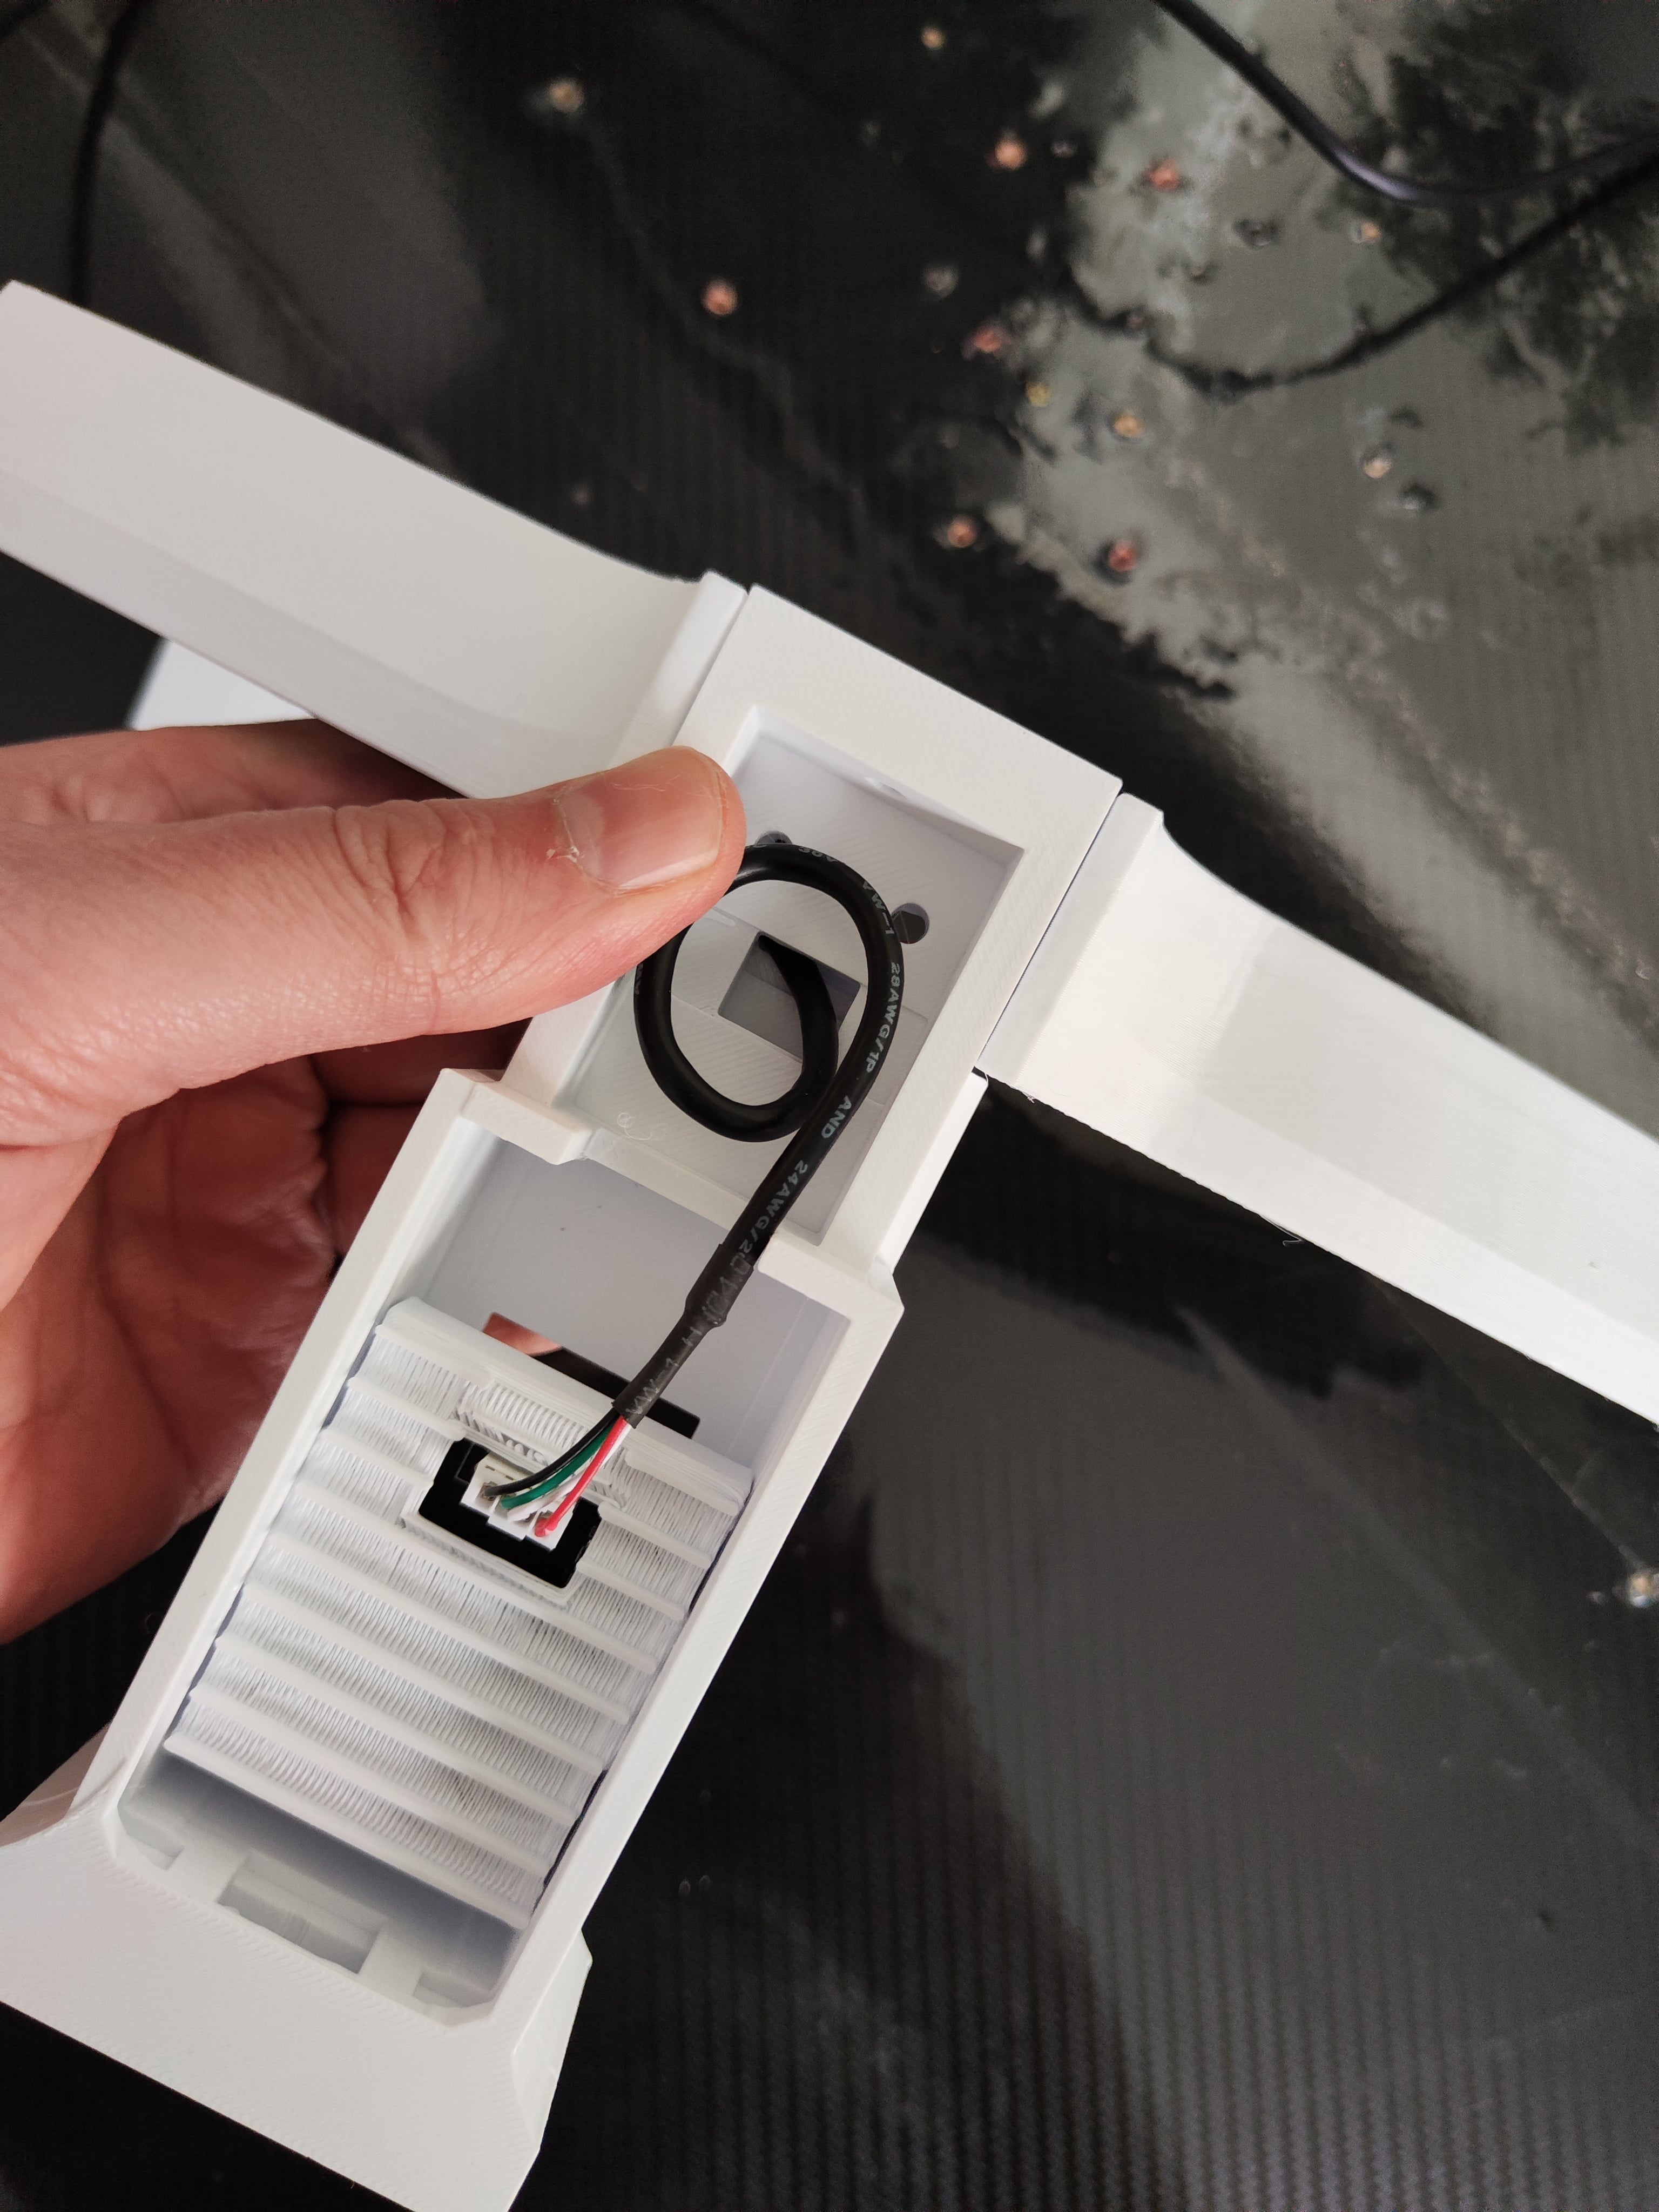
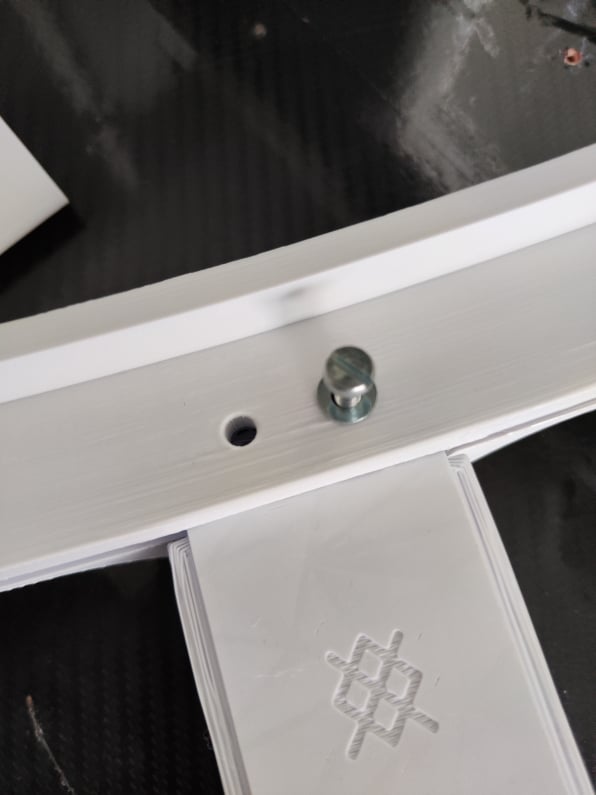
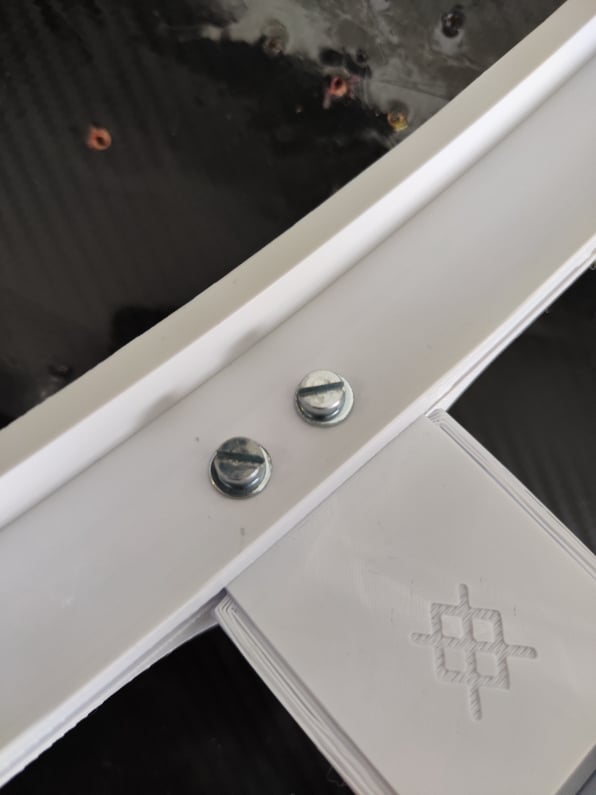
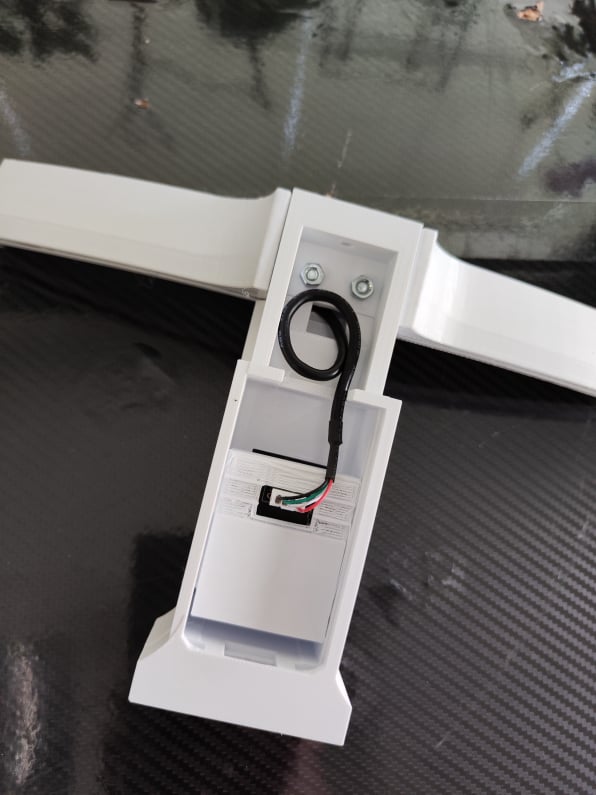
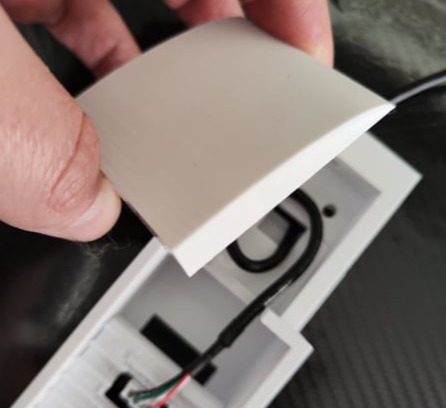
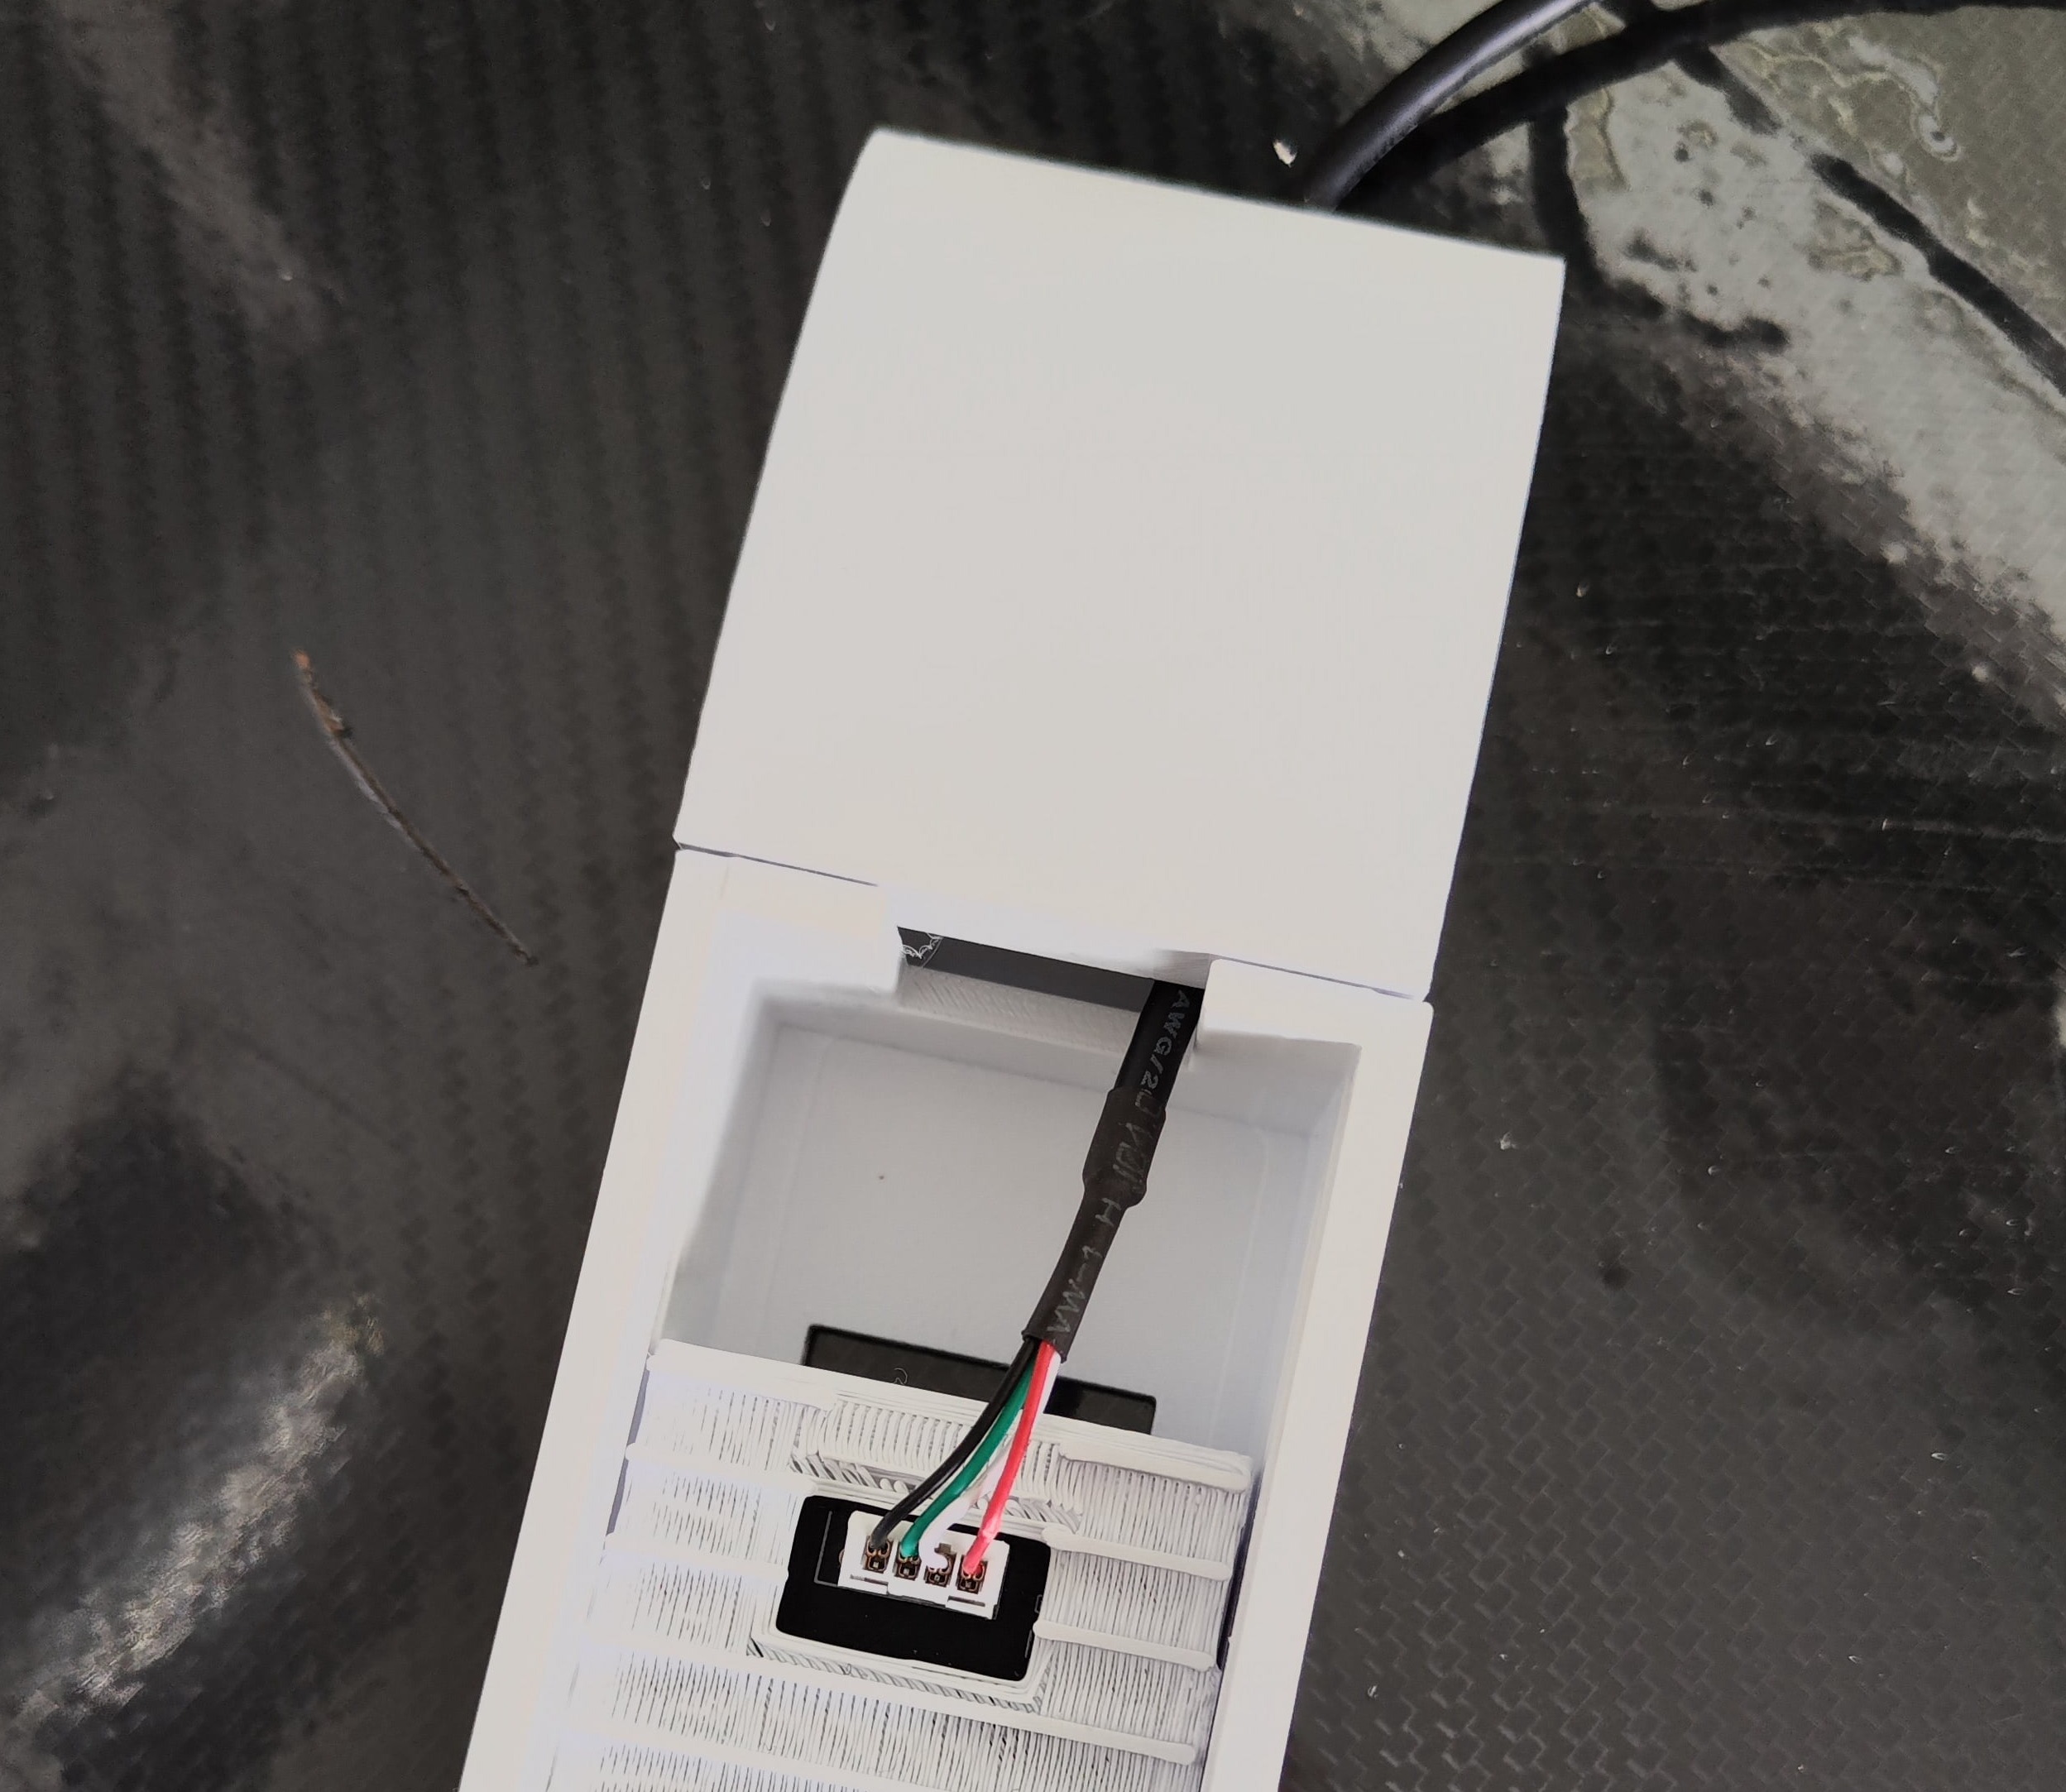
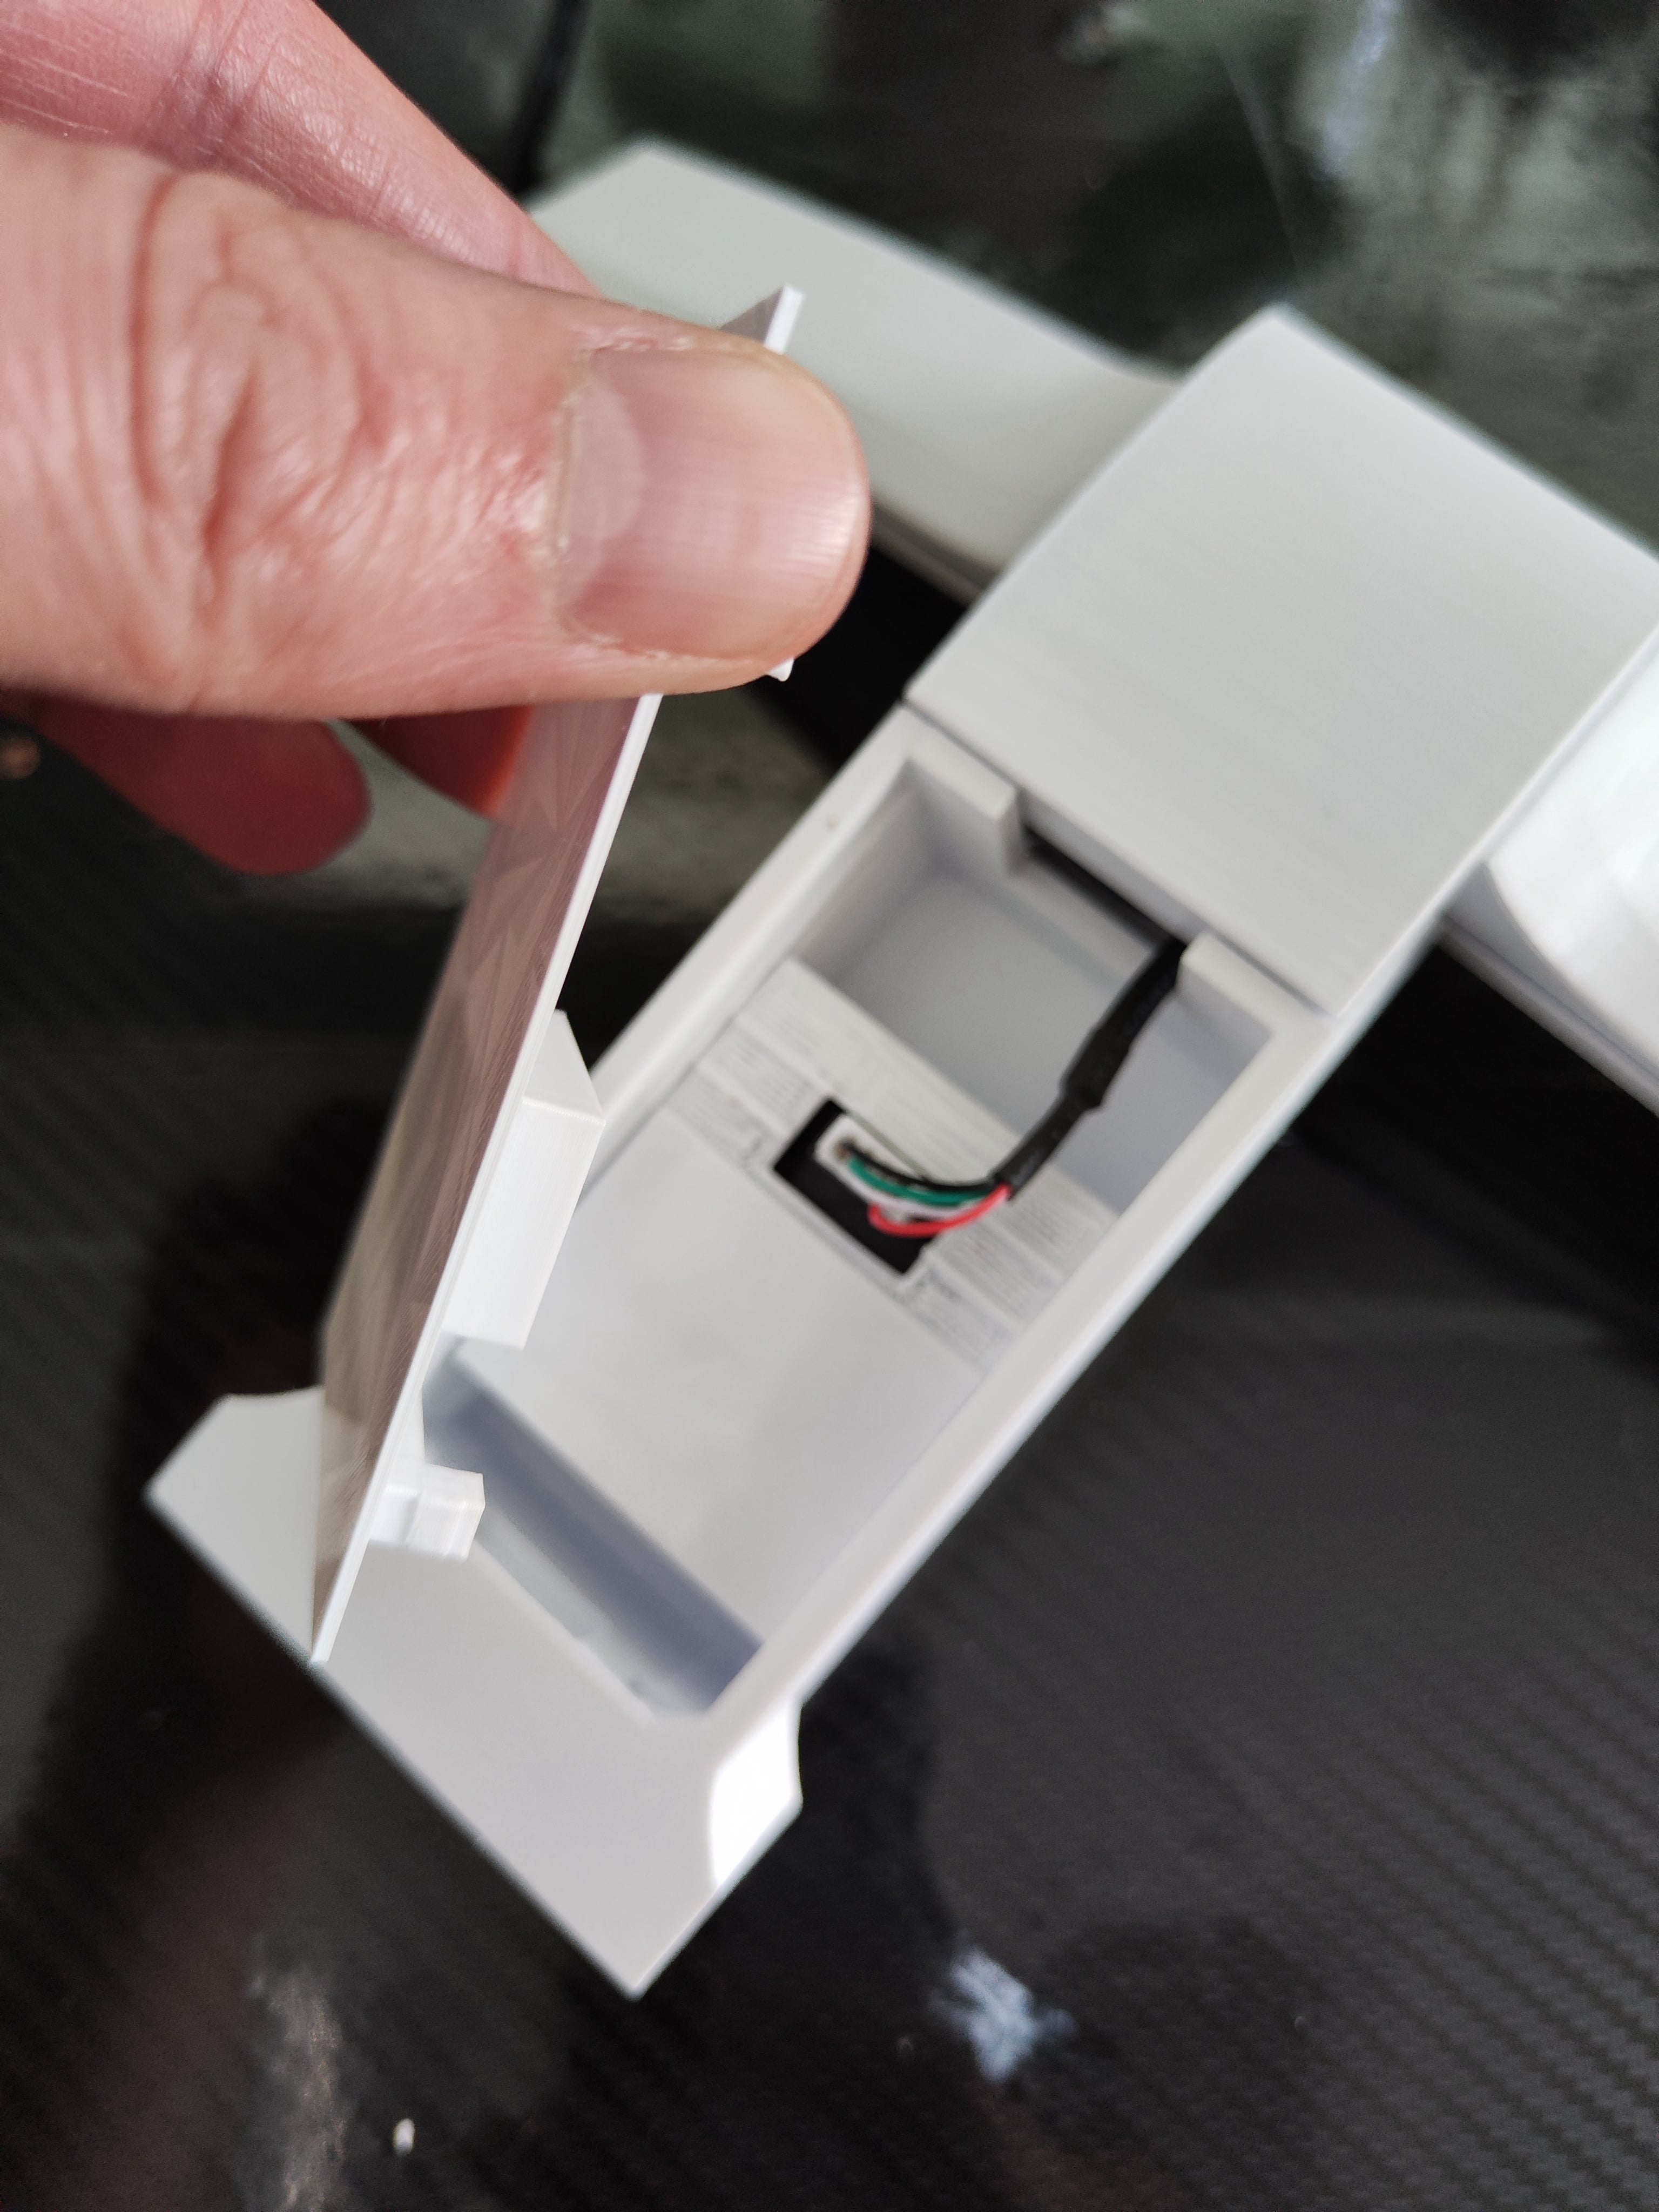
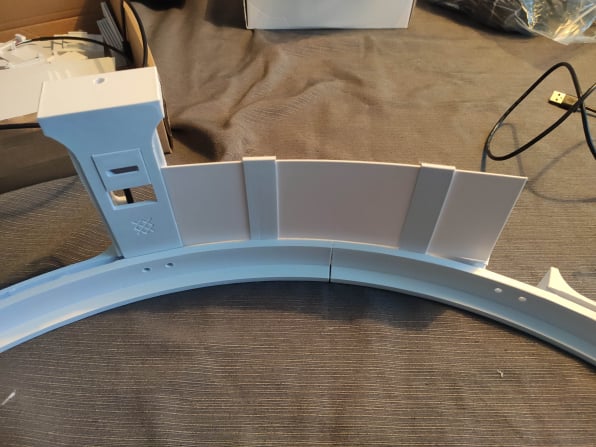
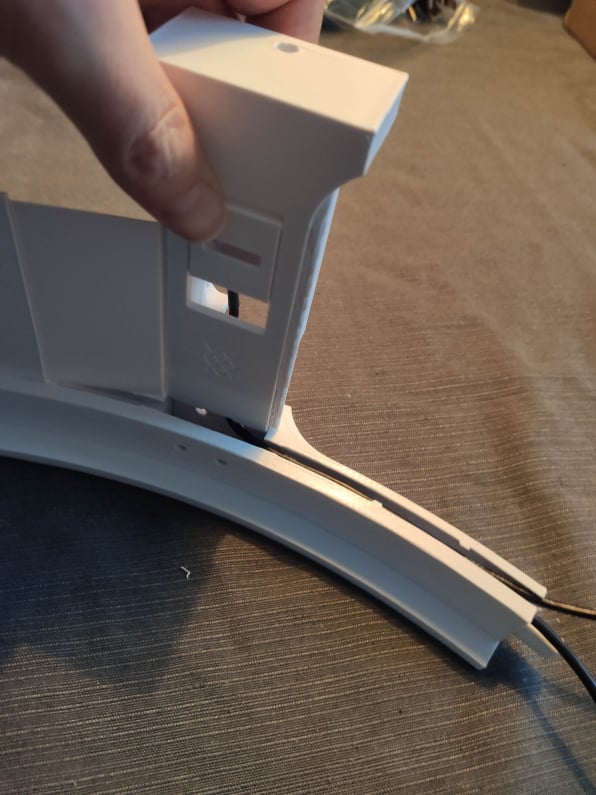
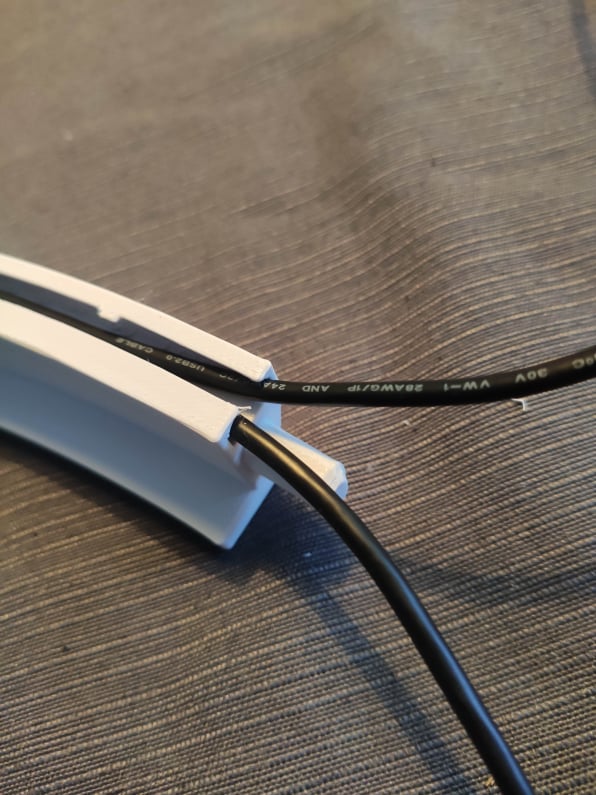
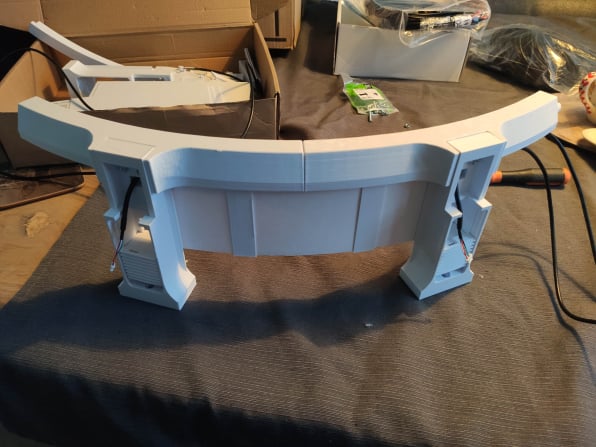
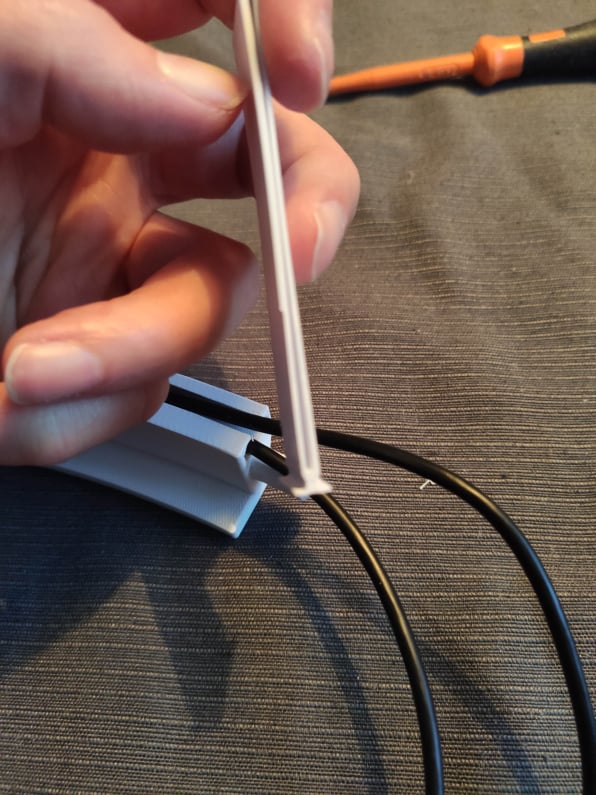
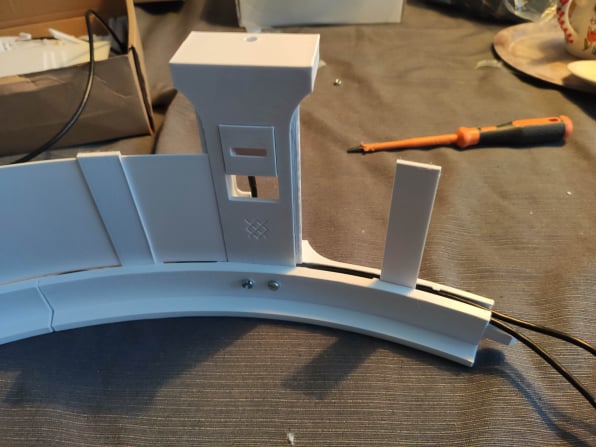
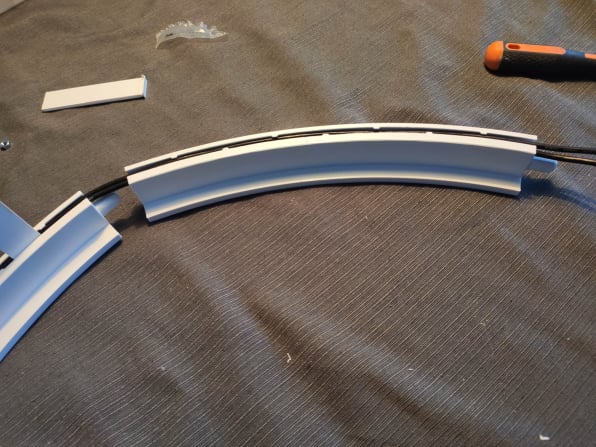
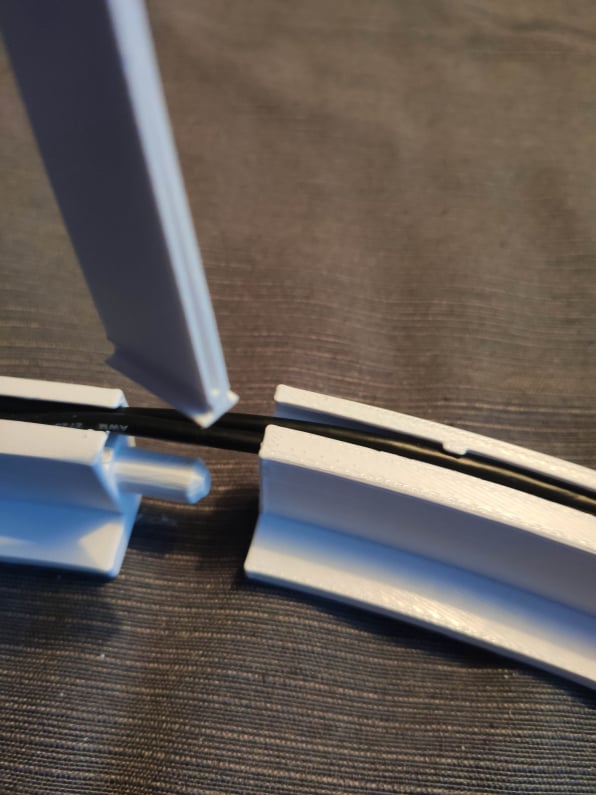
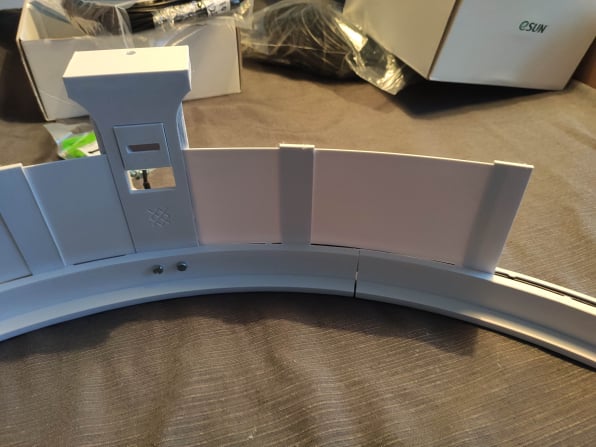
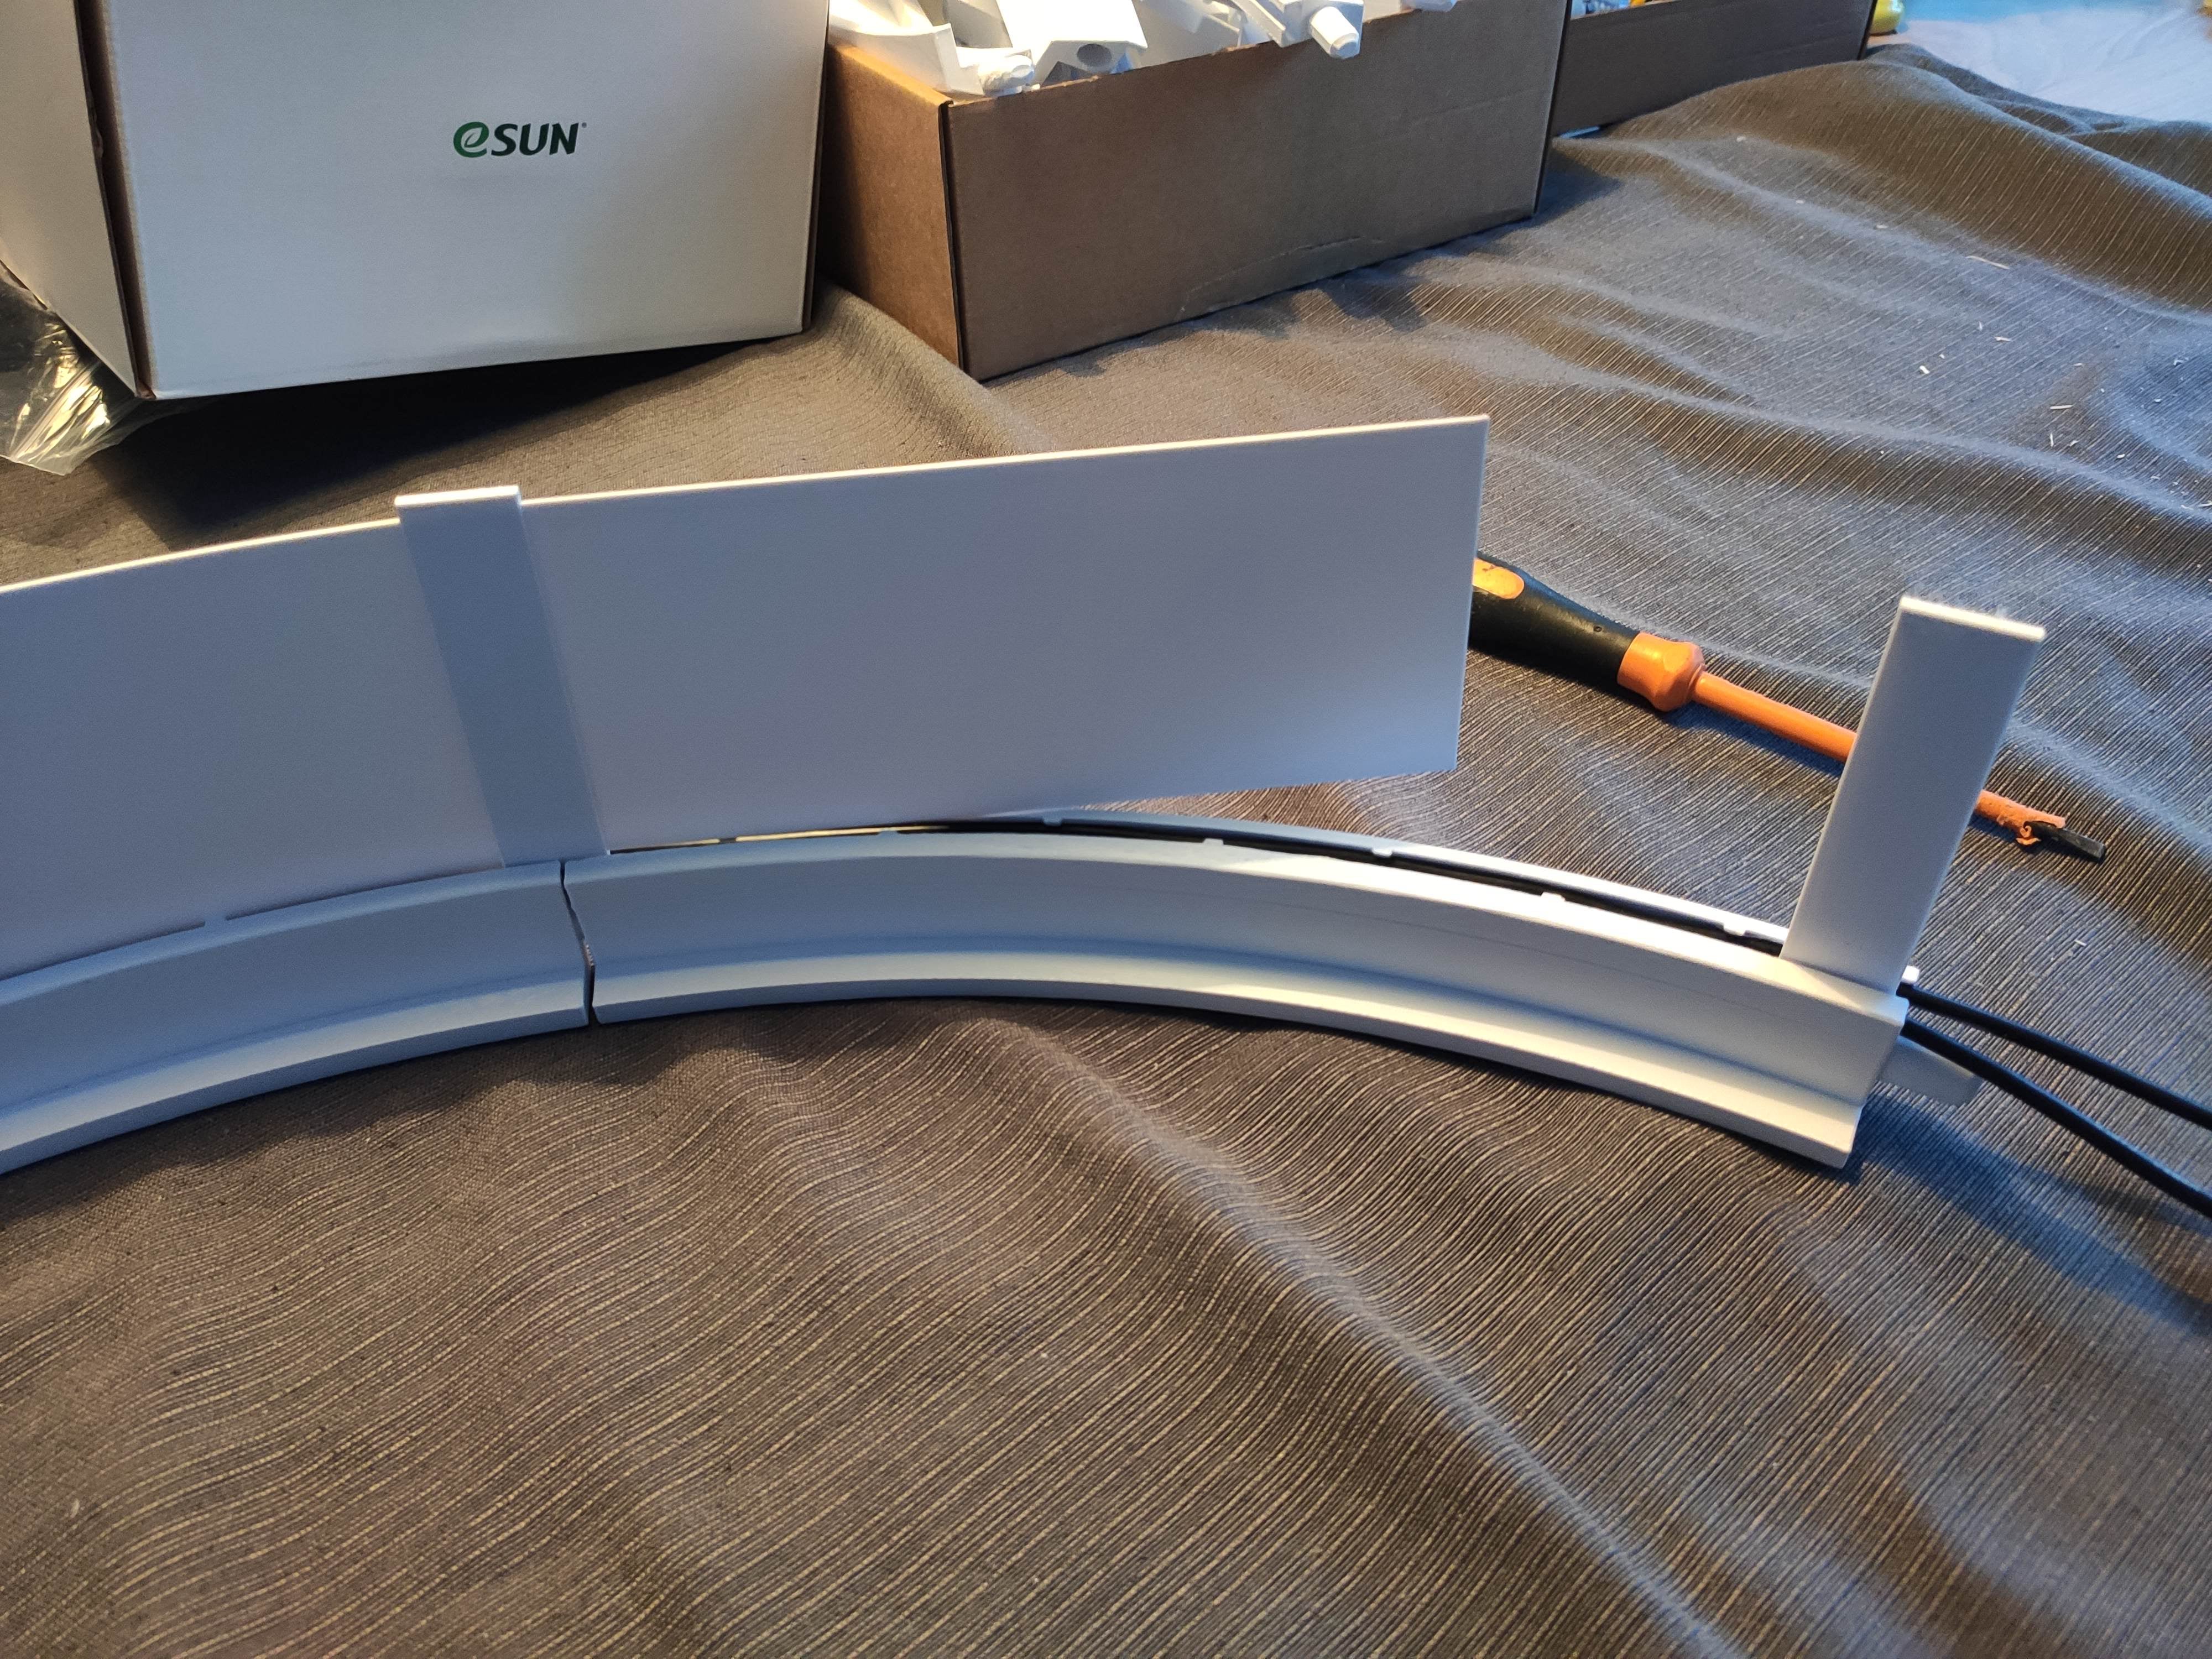
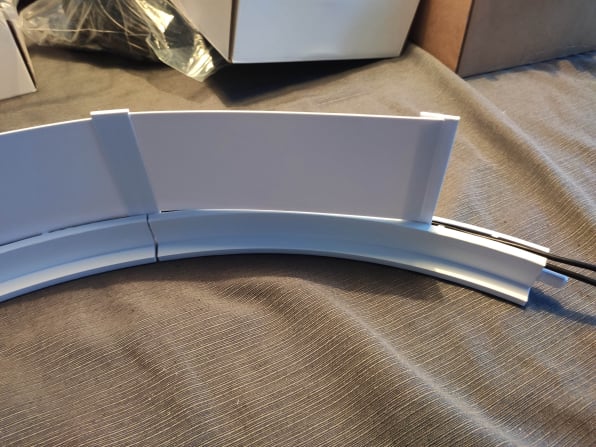
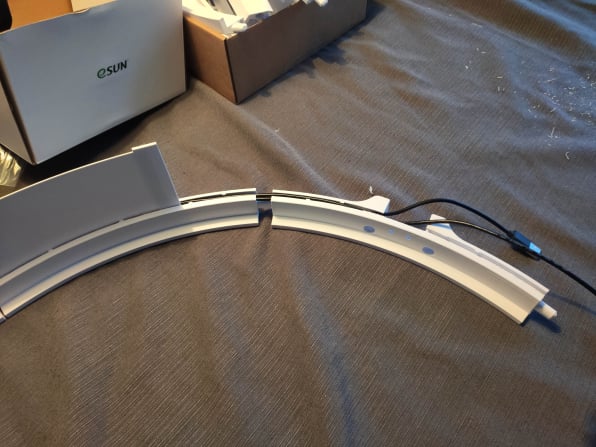
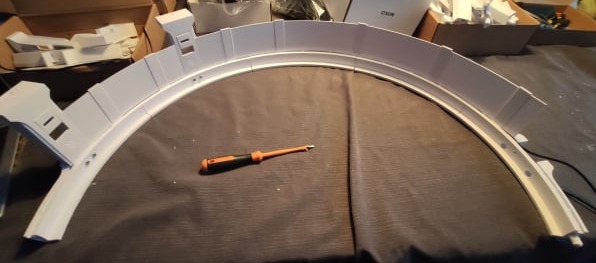
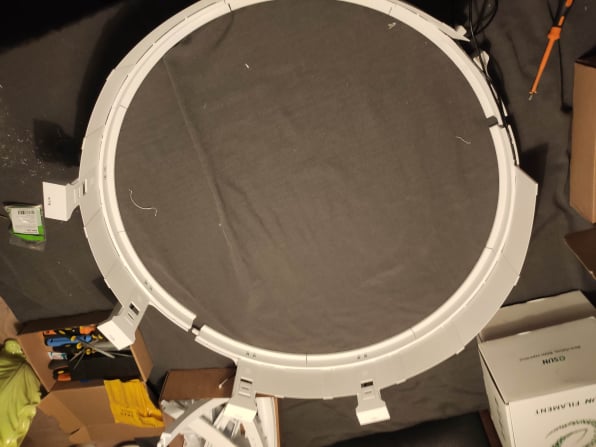
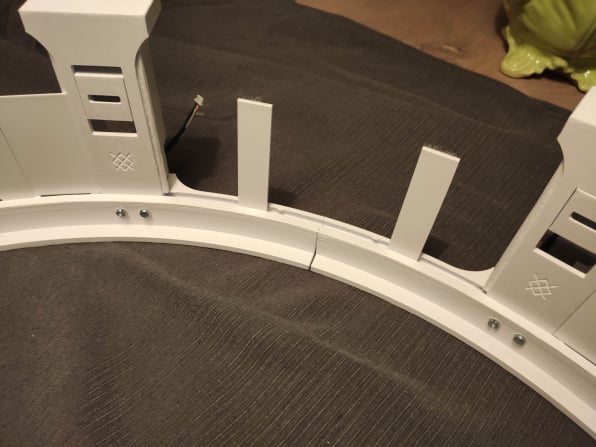
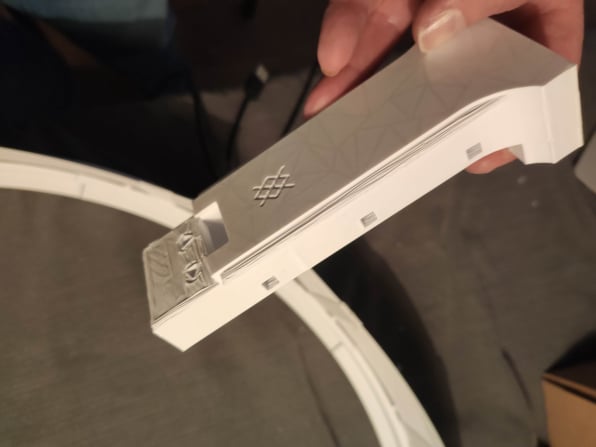
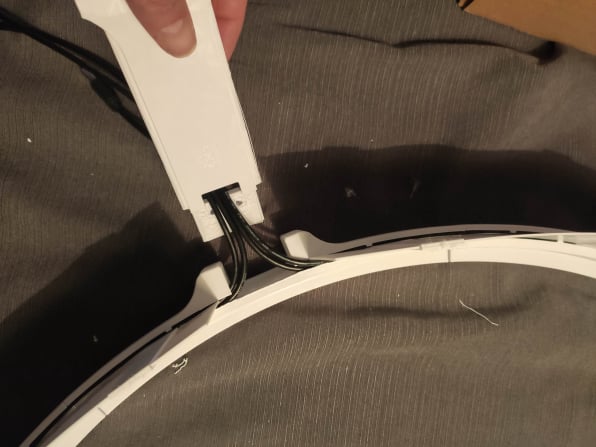
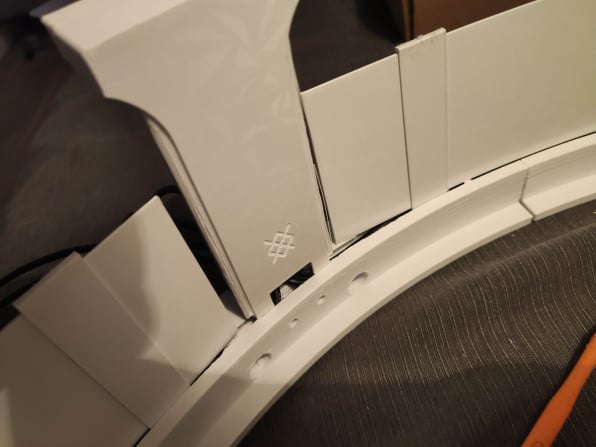
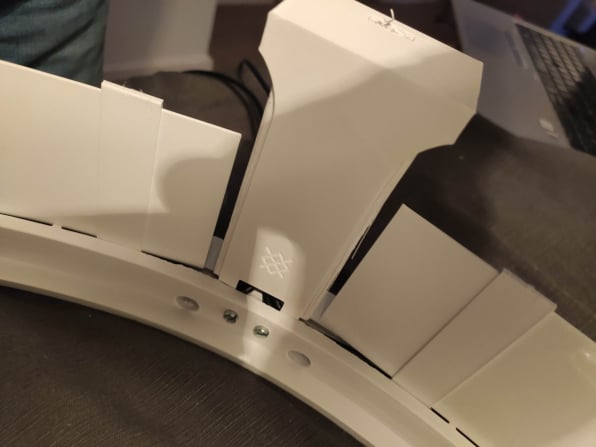
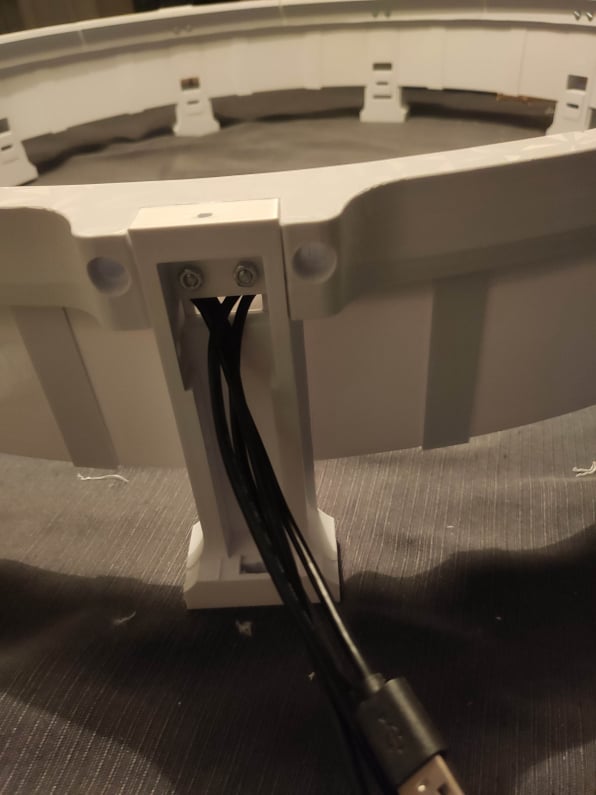
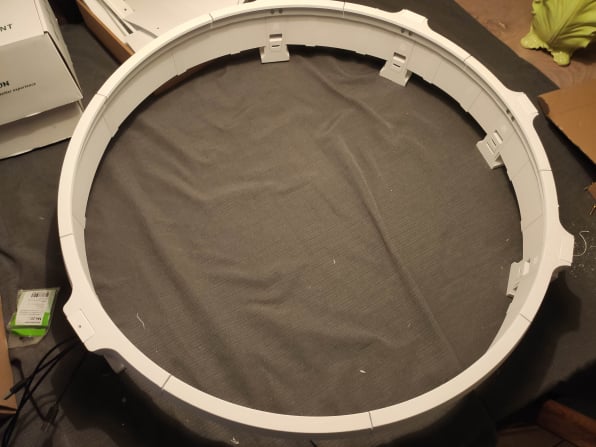
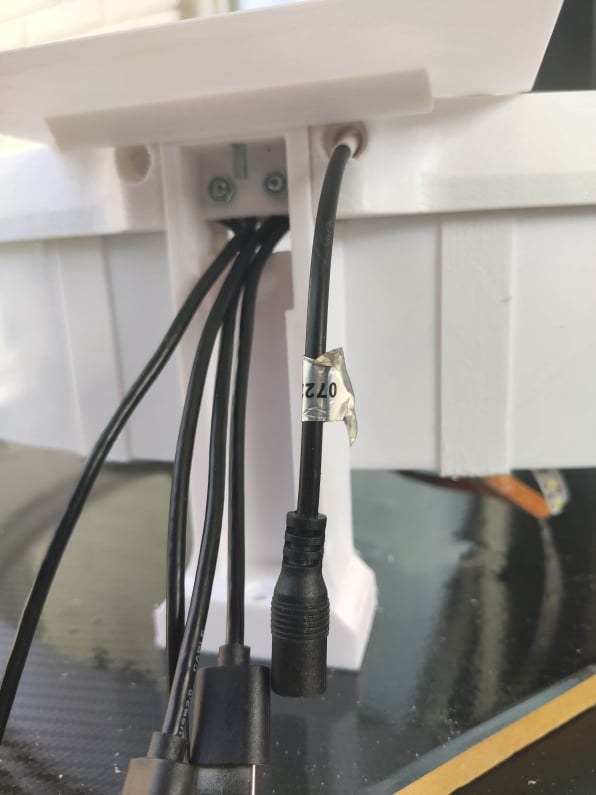
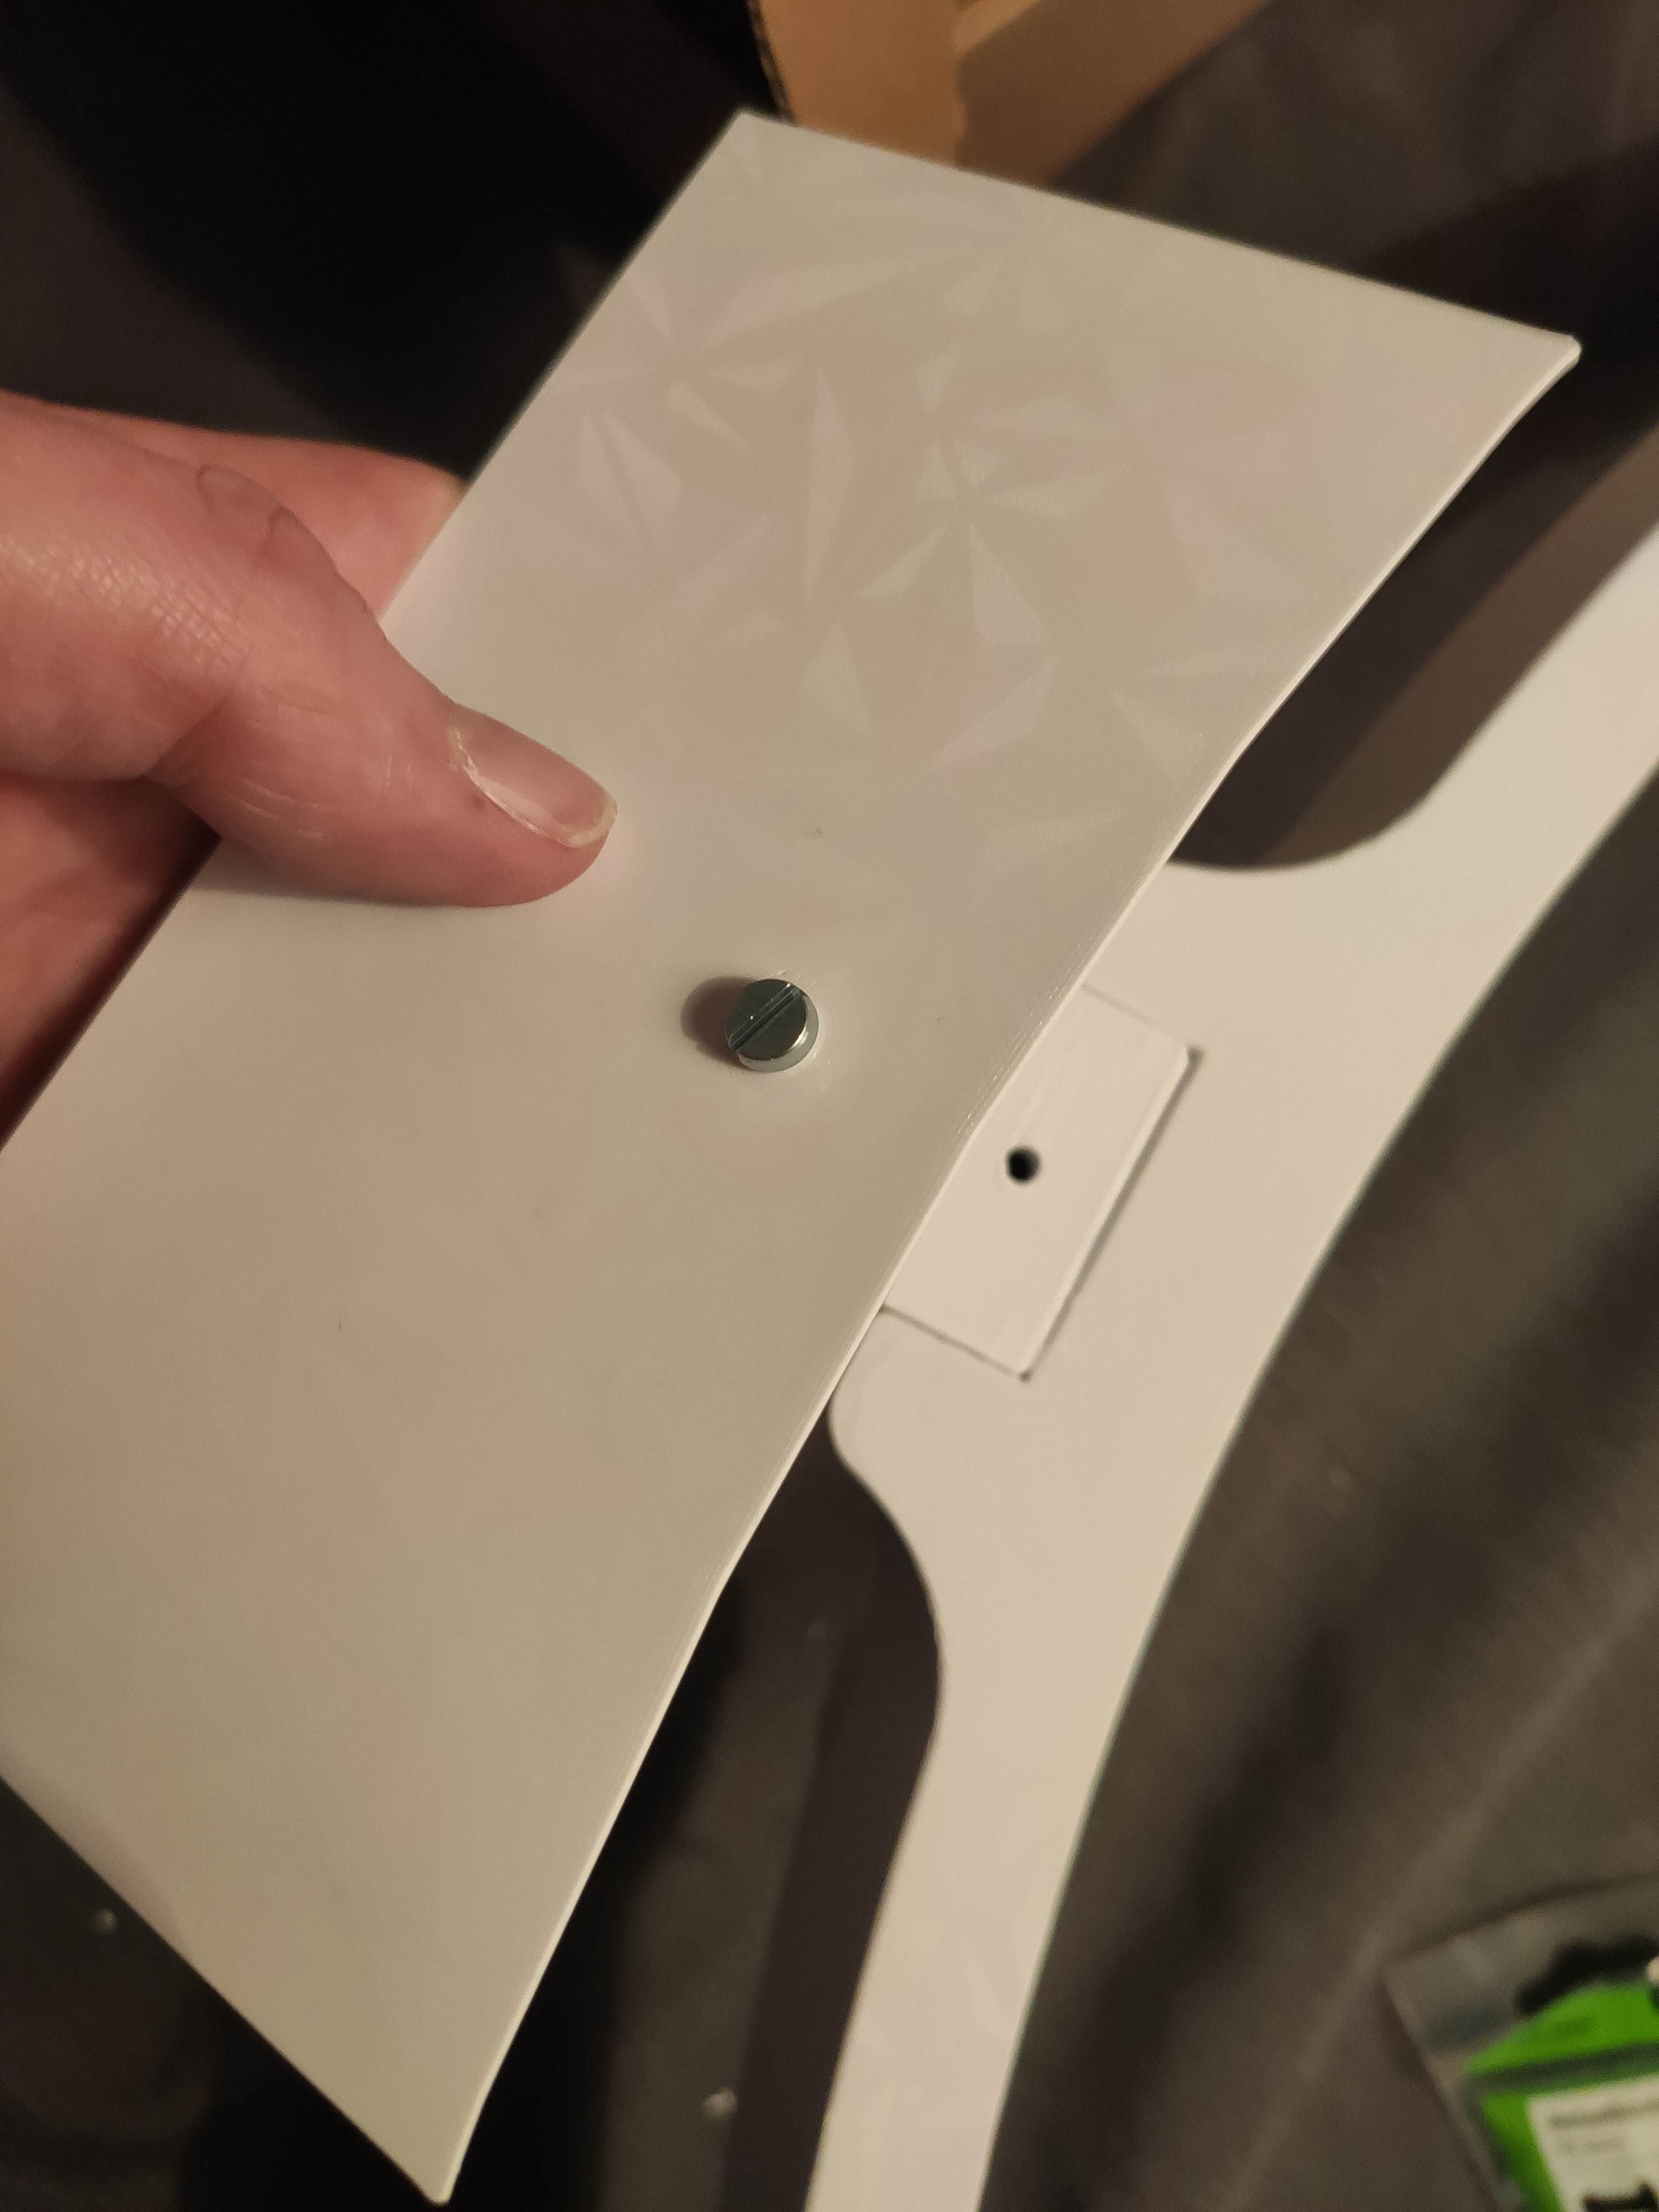
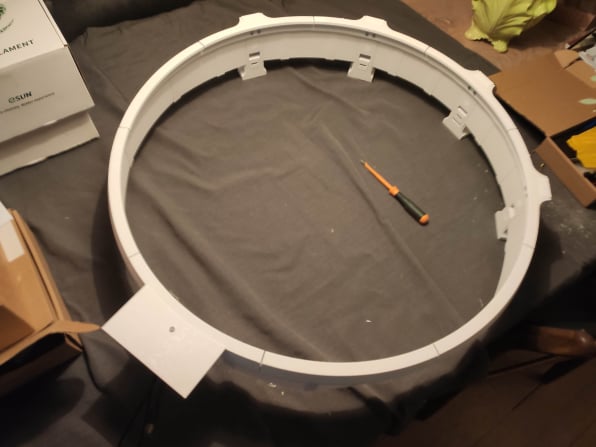
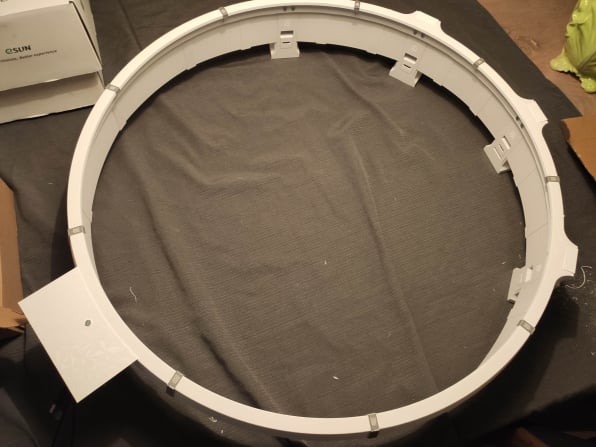
Build the left side of the surround then the right side. Put the cable through the camera foot to the left most top camera (sector 5) and leave enough cable to be able to move the camera from top to bottom within the foot. Guide the cable for sectors 5 and 1 through the innerside of the surround to the cable foot. Guide the cable for sectors 9 and 4 through the outside of the surround to the cable foot. Place 2 surround mounts directly after a segment is finished. Between the cameras you'll use the the 3 larger surround plates and 6 surround mounts with a slighty different foot because there is no or just 1 wire in those ring elements.
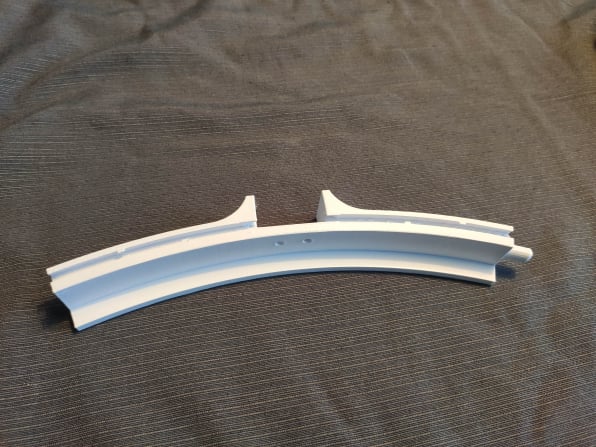
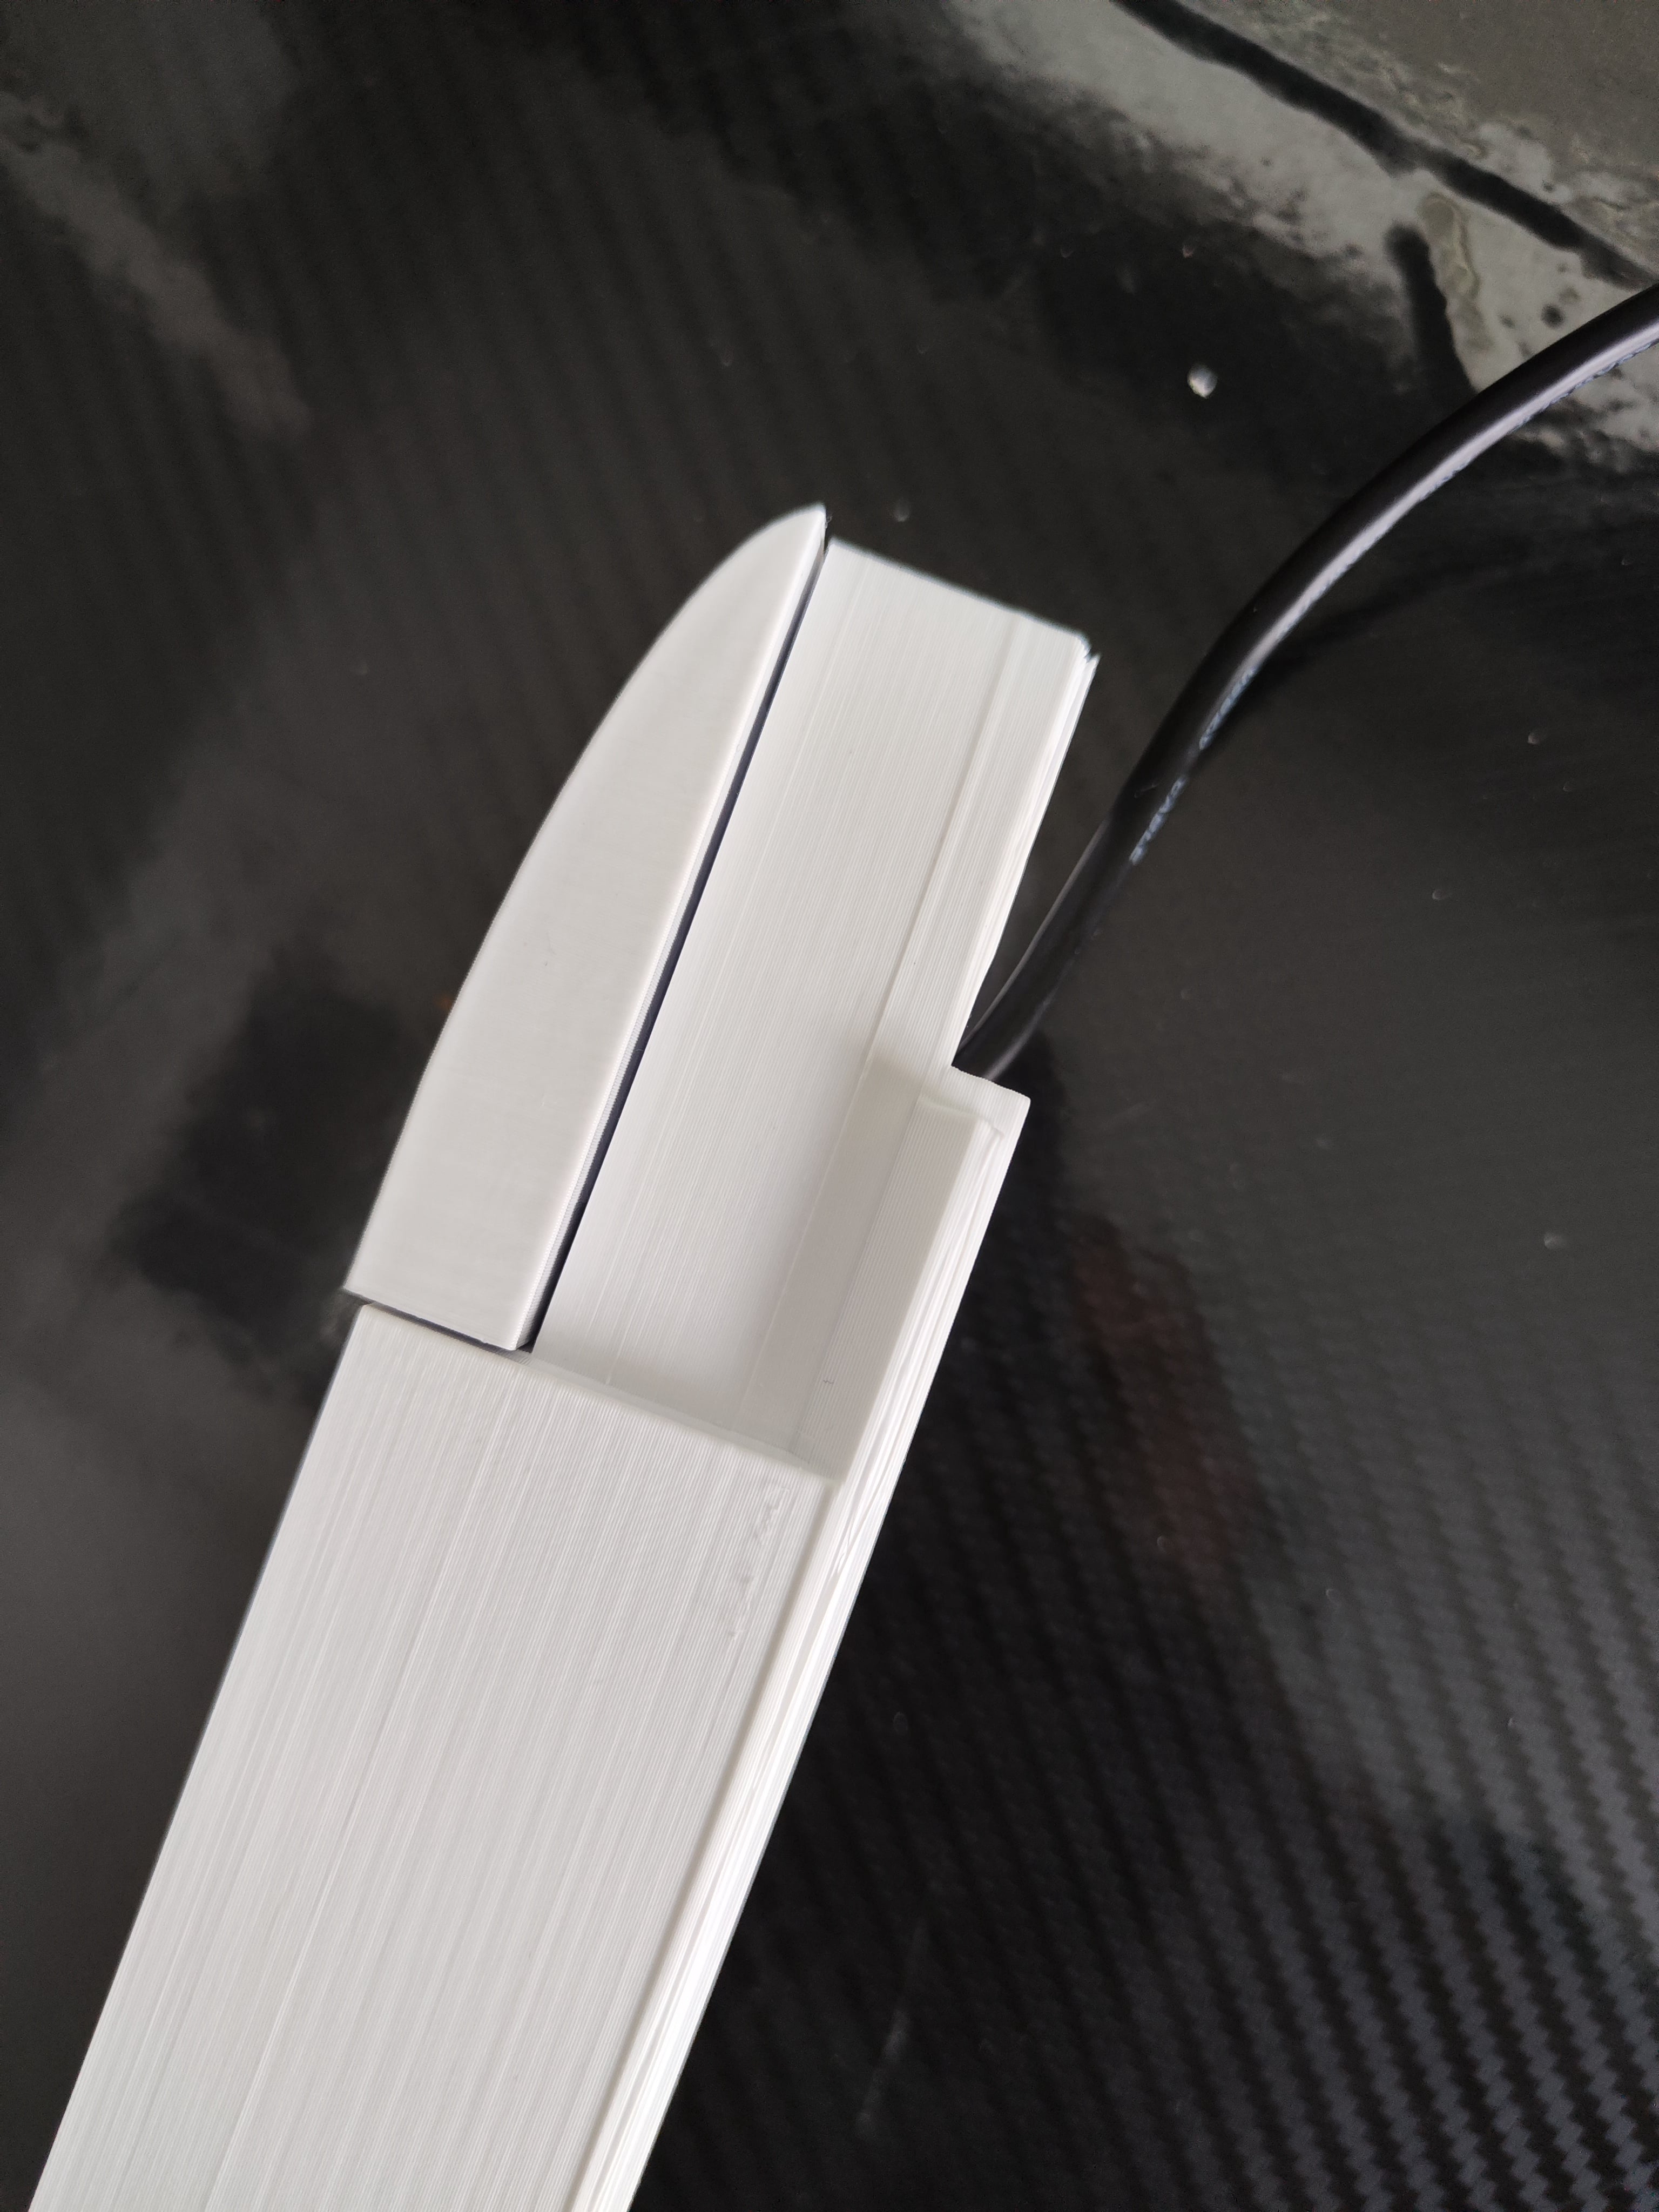
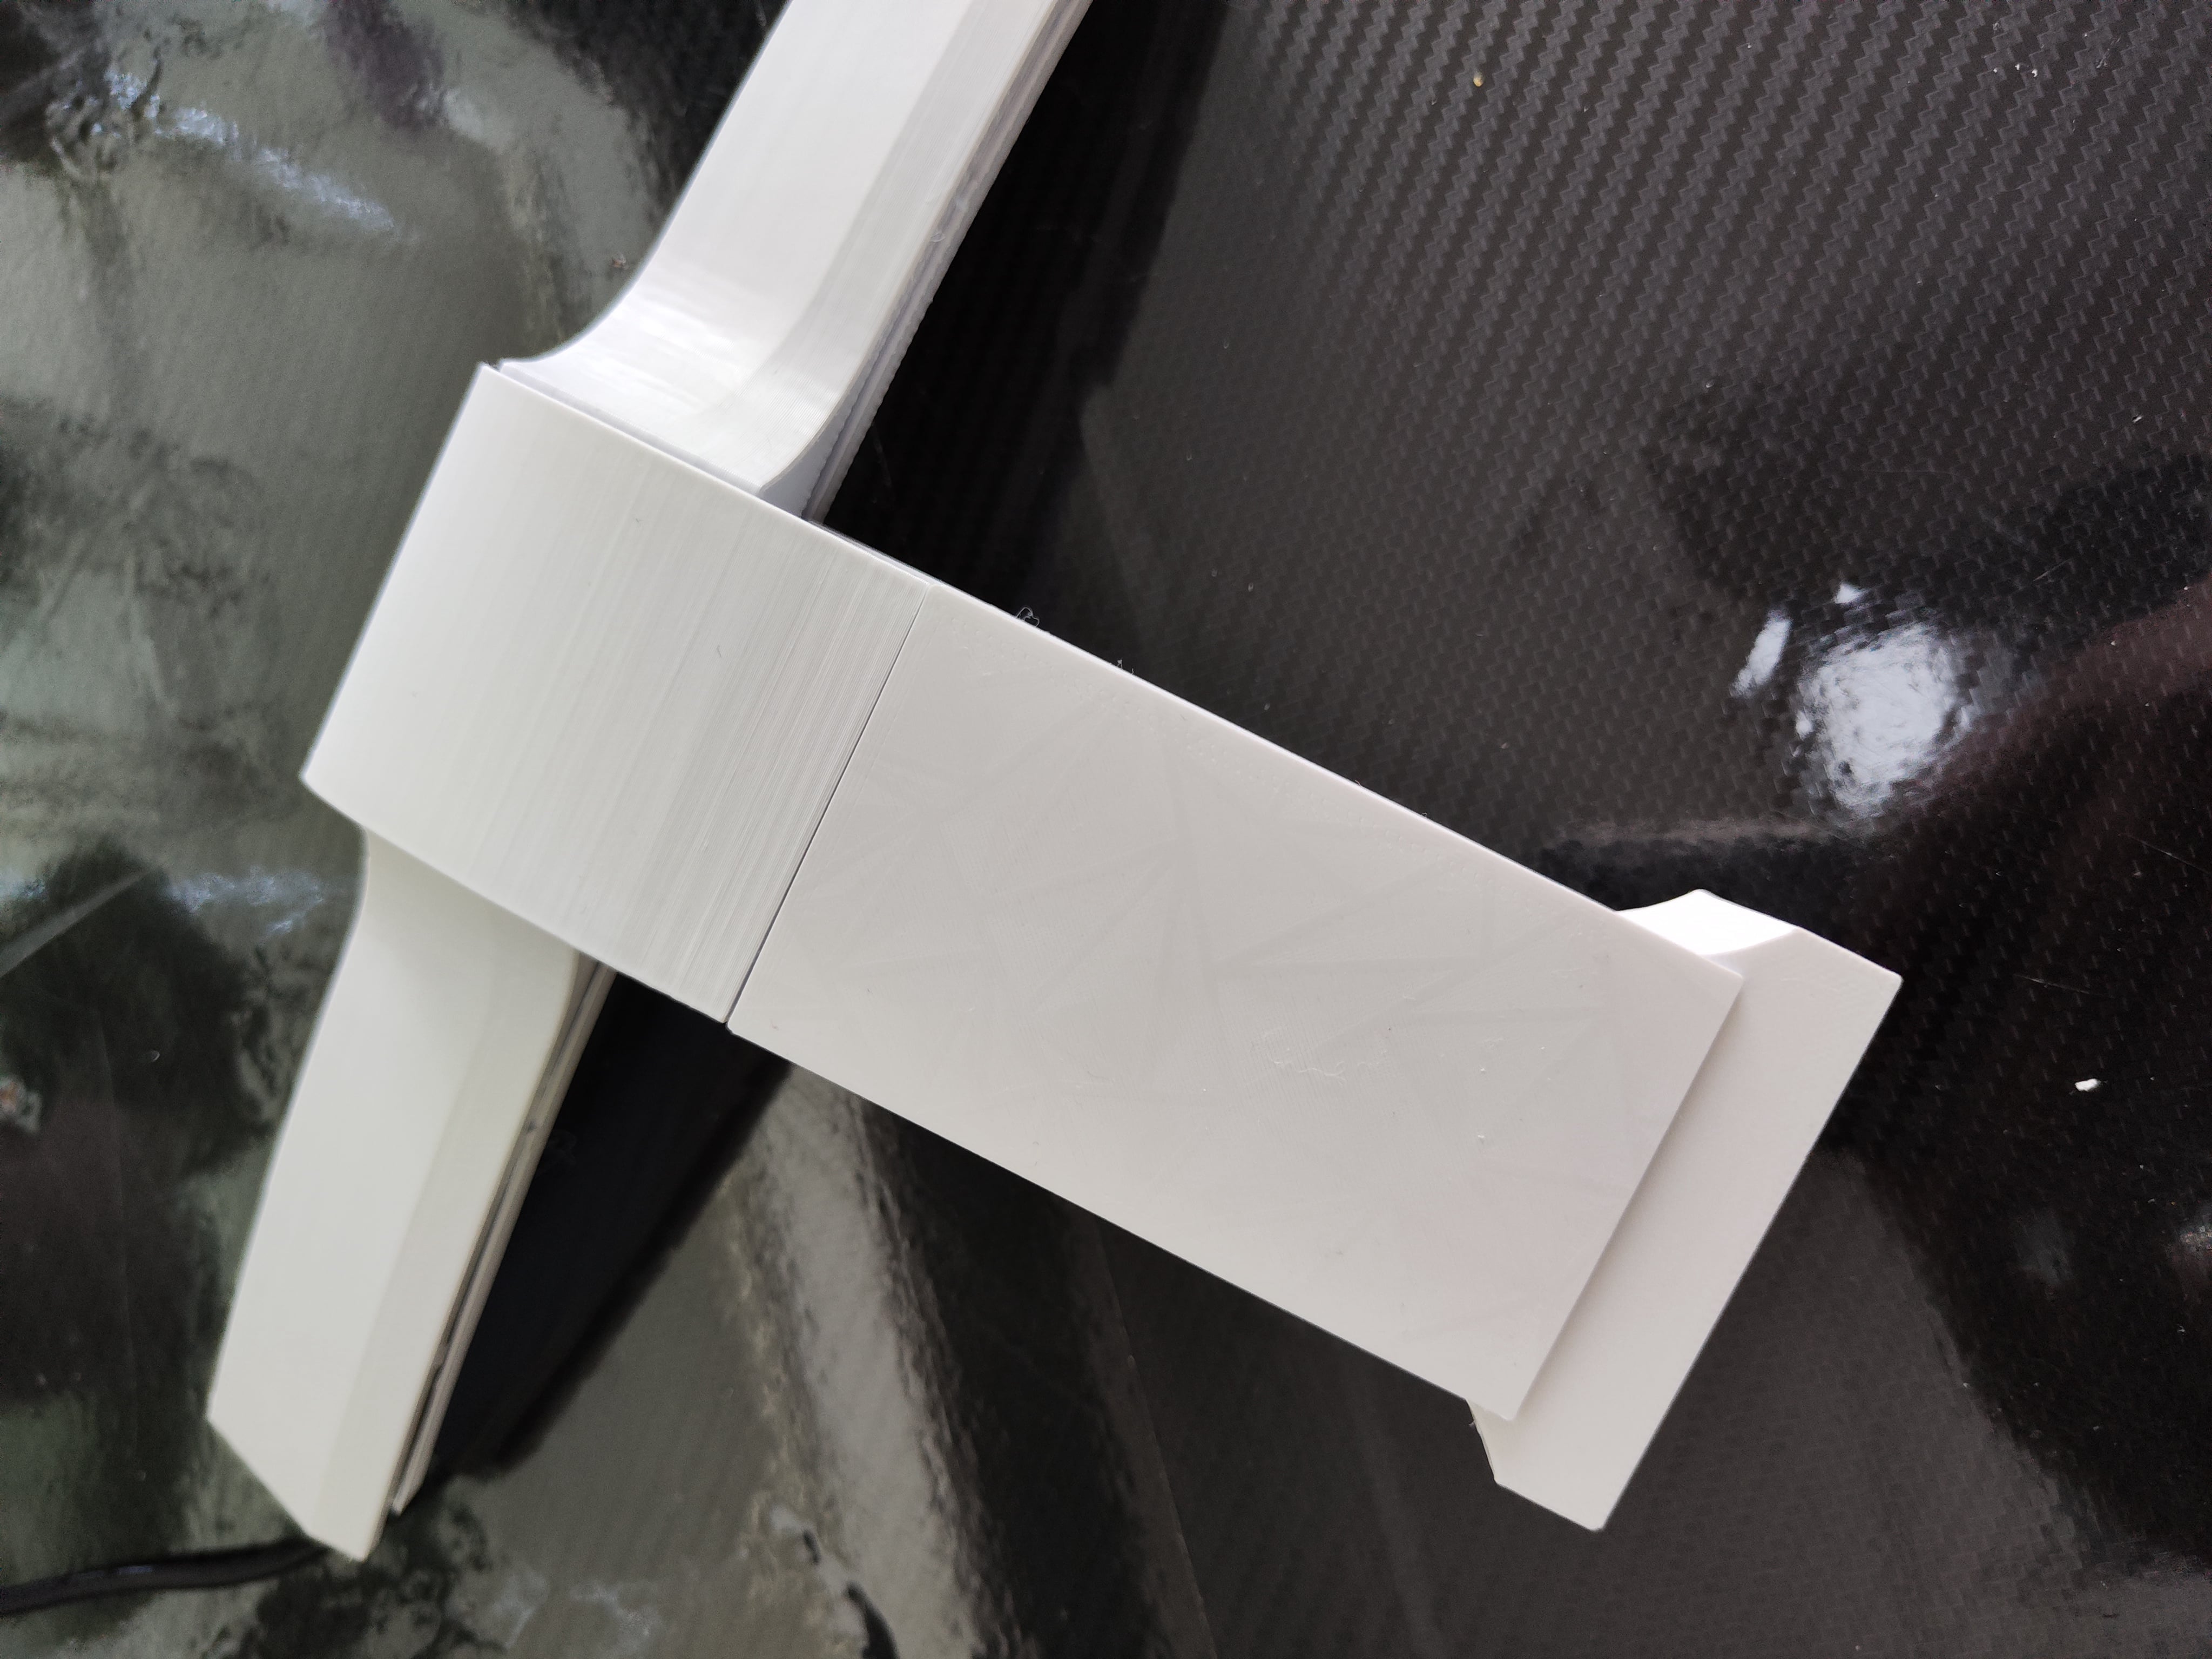
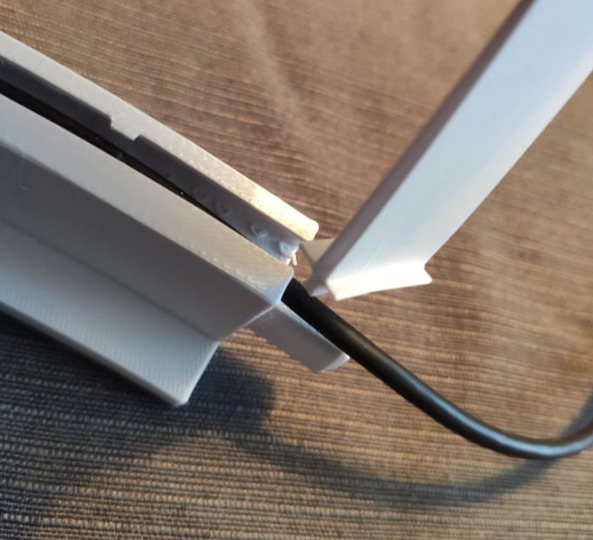
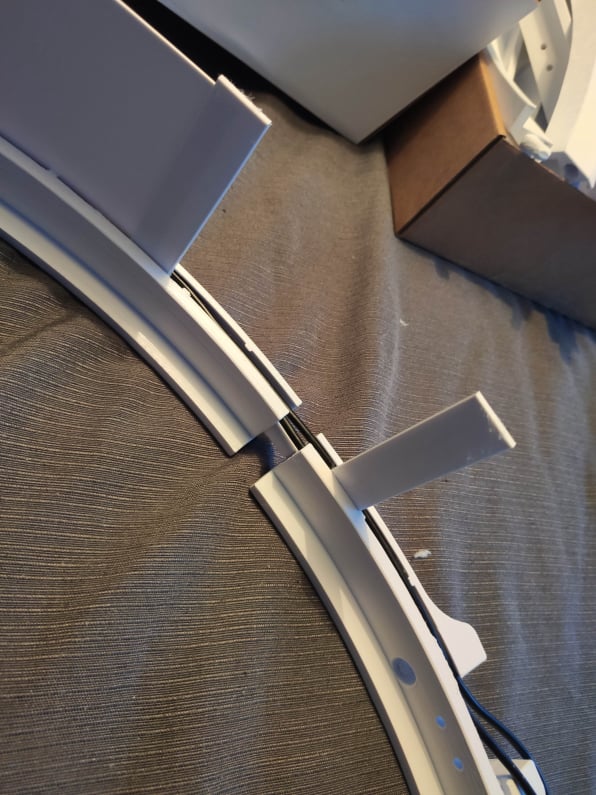
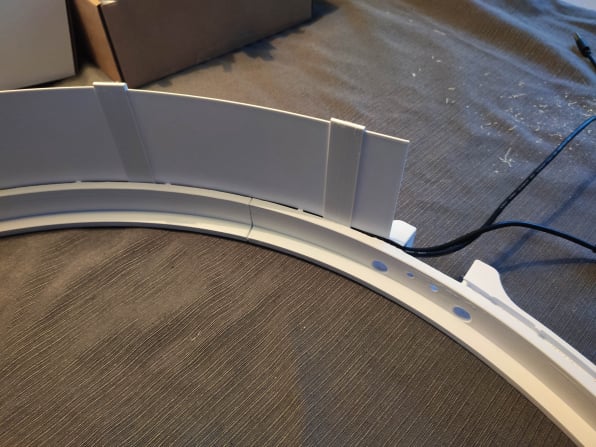
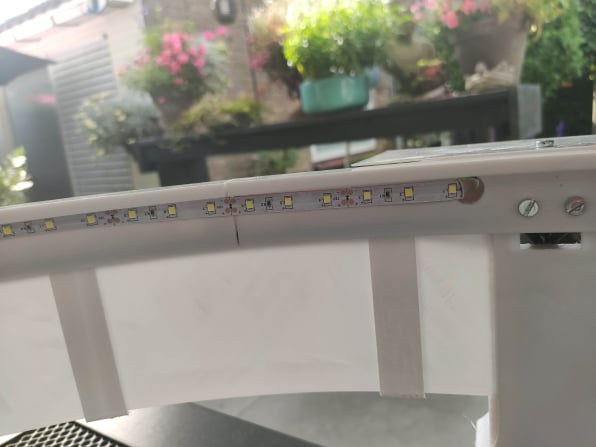
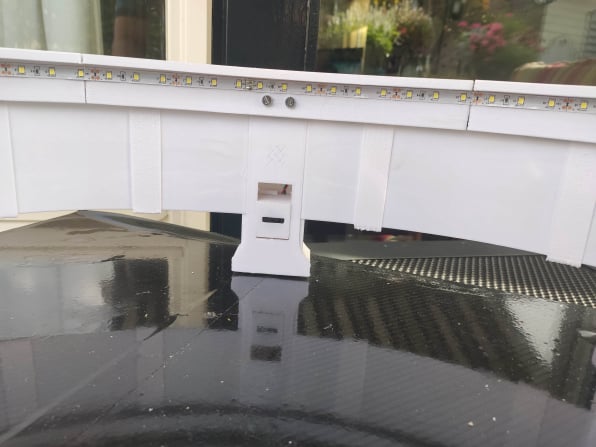
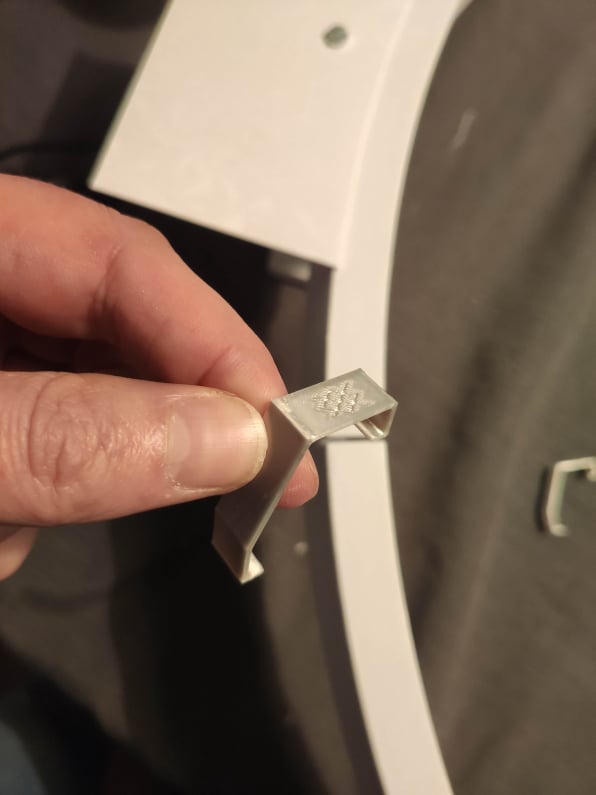
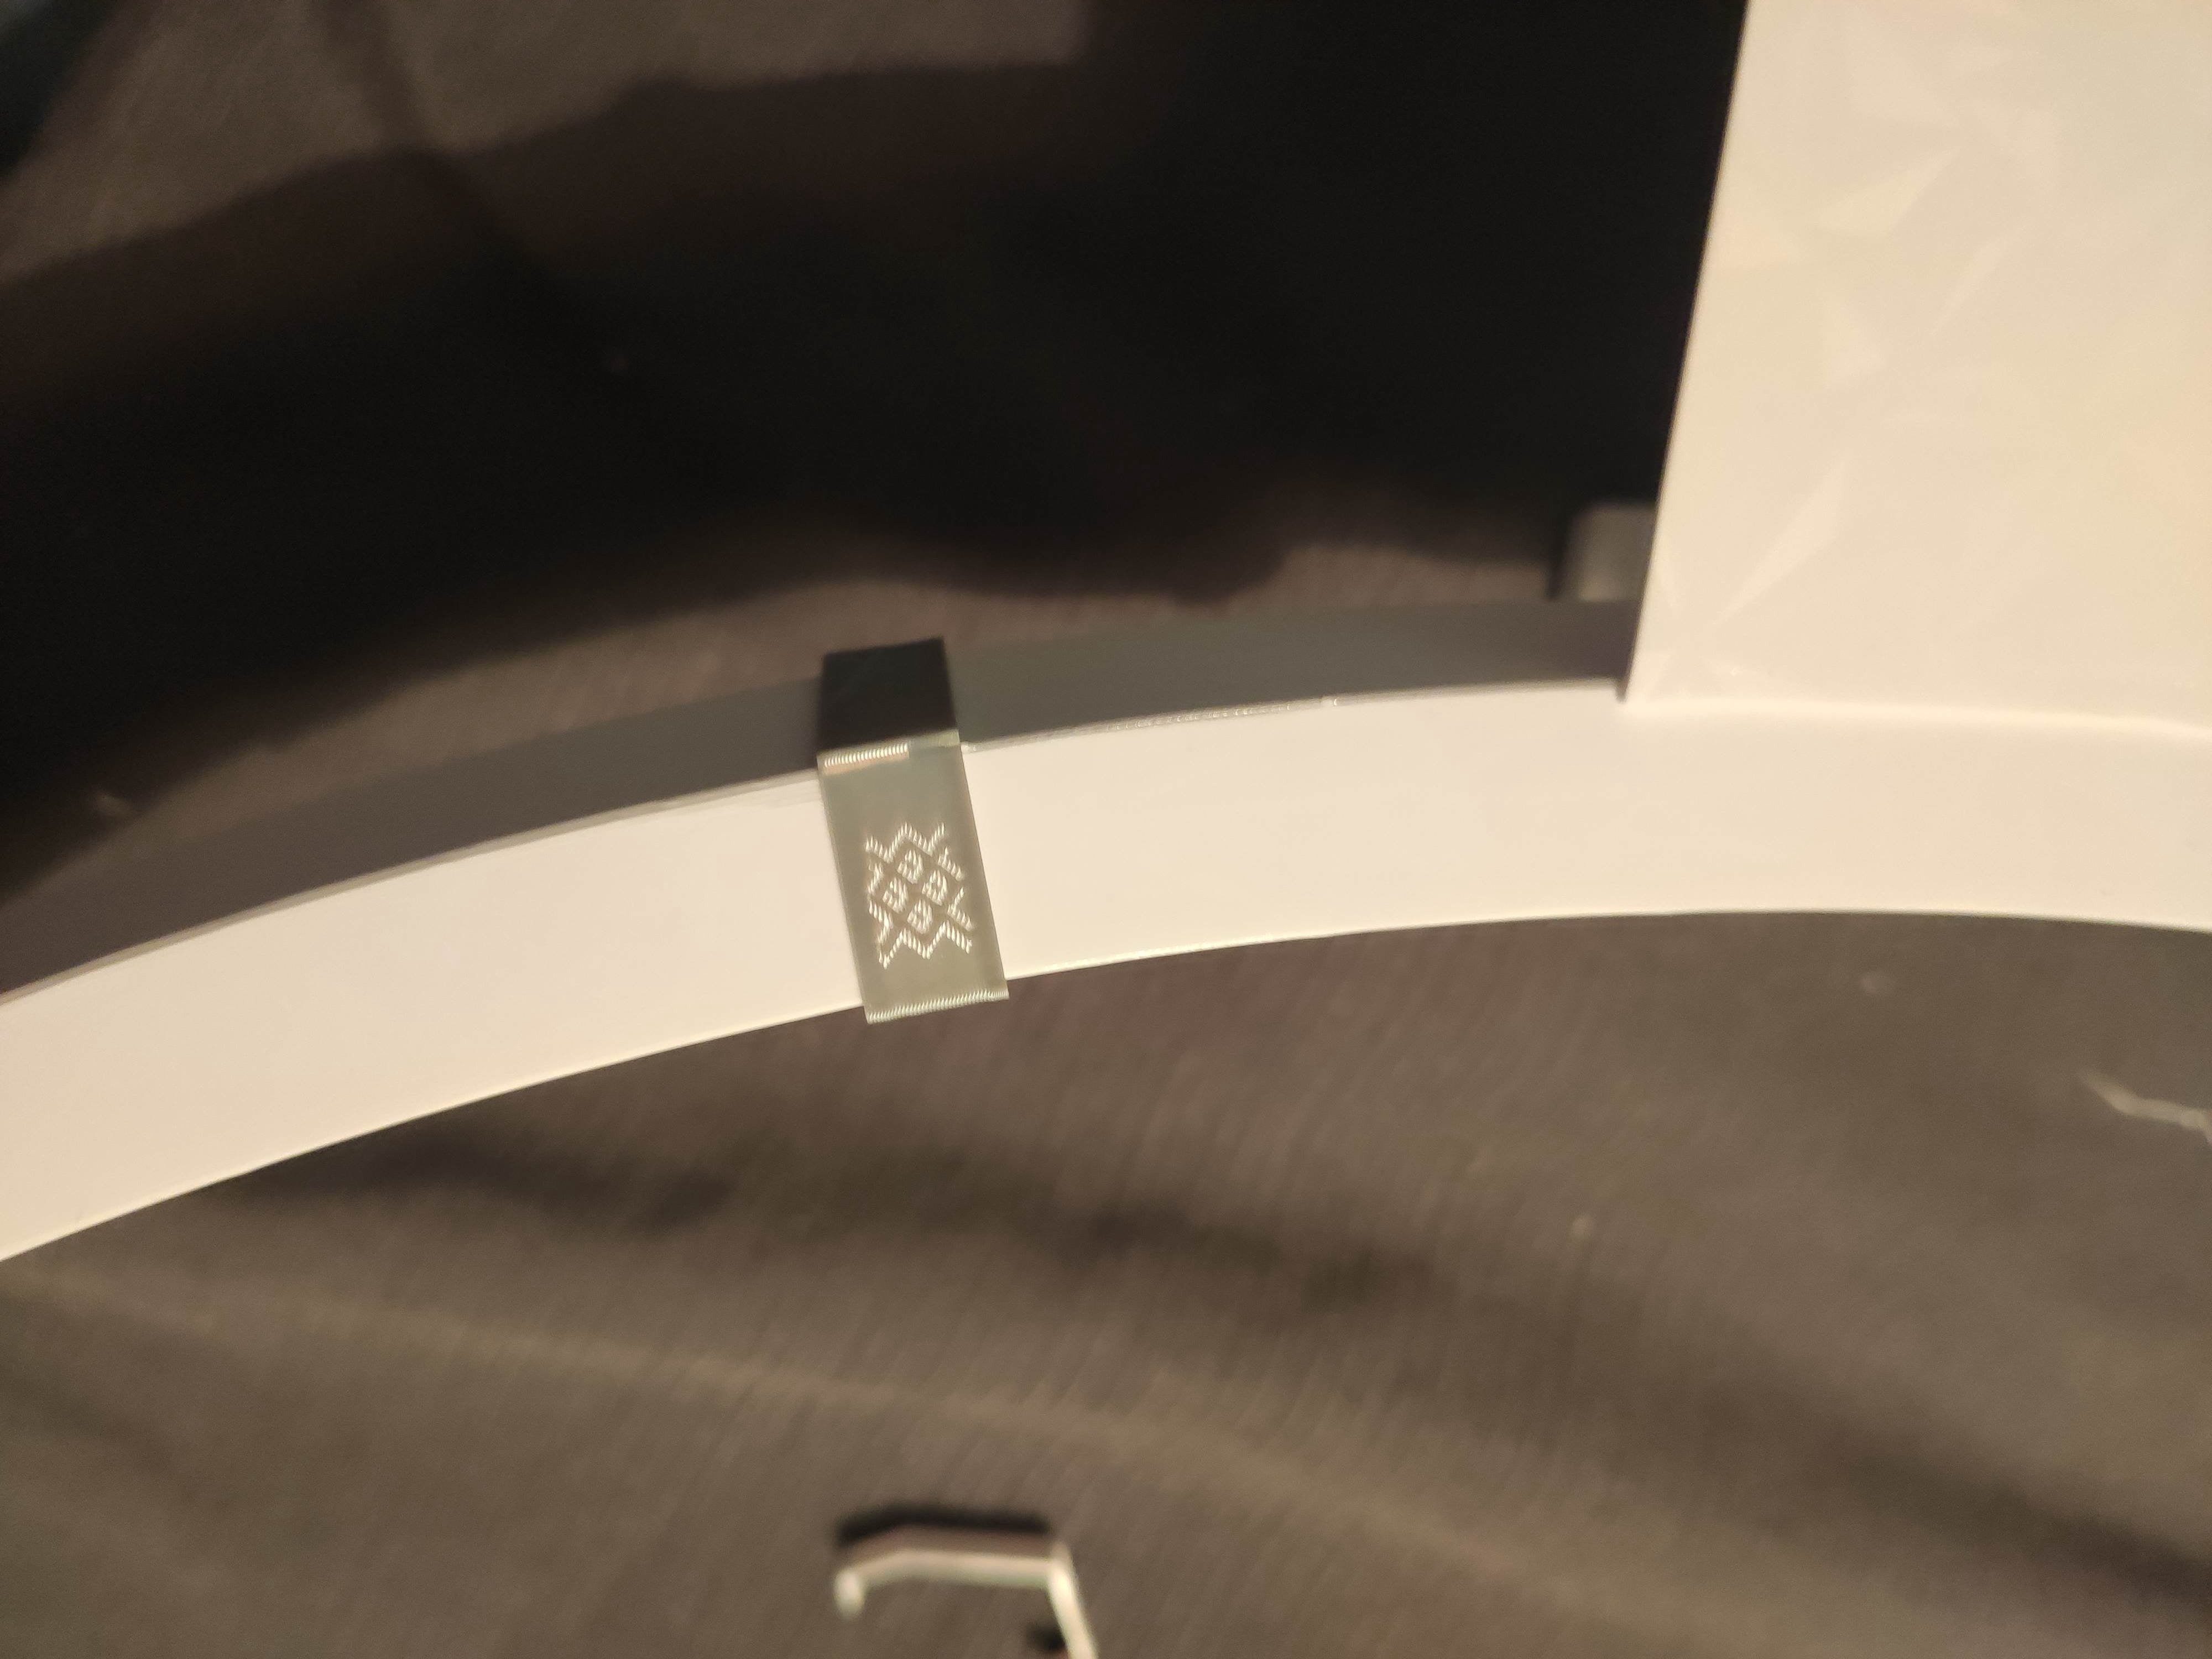
If you have the mount clips (see pictures below) you can put them over the cracks inbetween the surround elements.
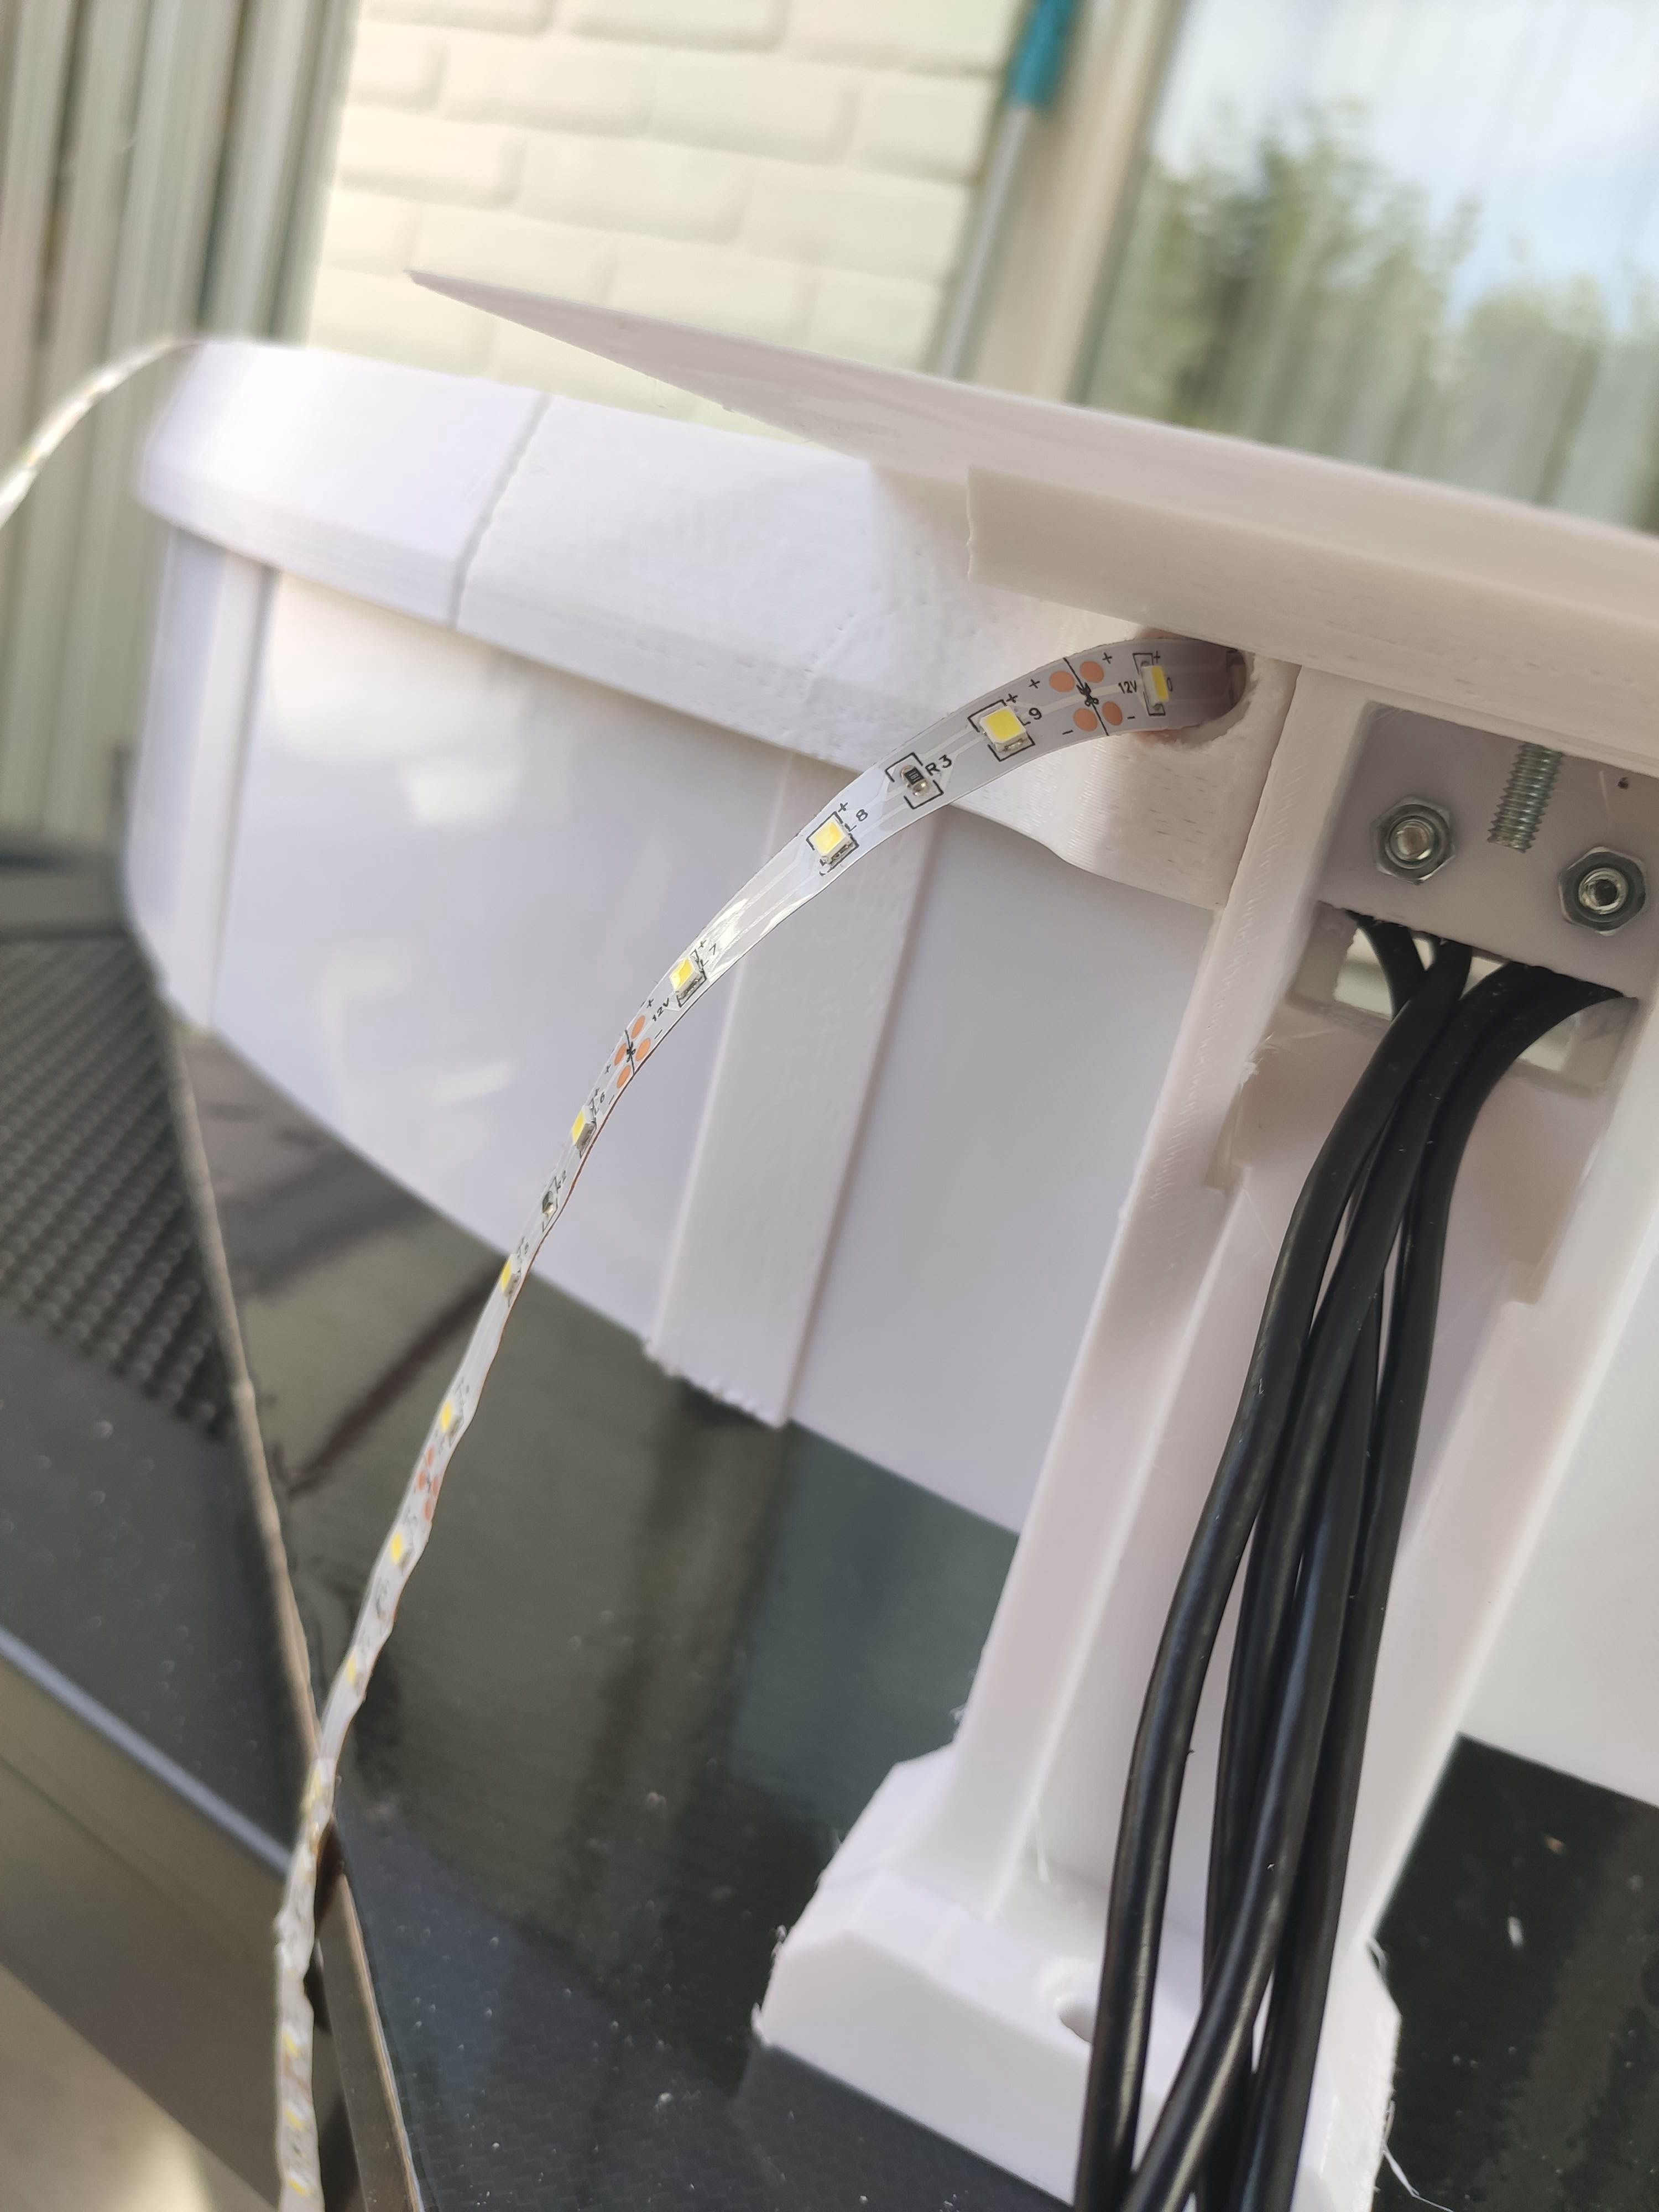
Feed the whole ledstrip through the hole in the cable foot leaving only the connector outside of the surround. Then guide and stick it into the inside of the surround. Cut it at the end (at an indicated place on the ledstrip).
Mounting the surround
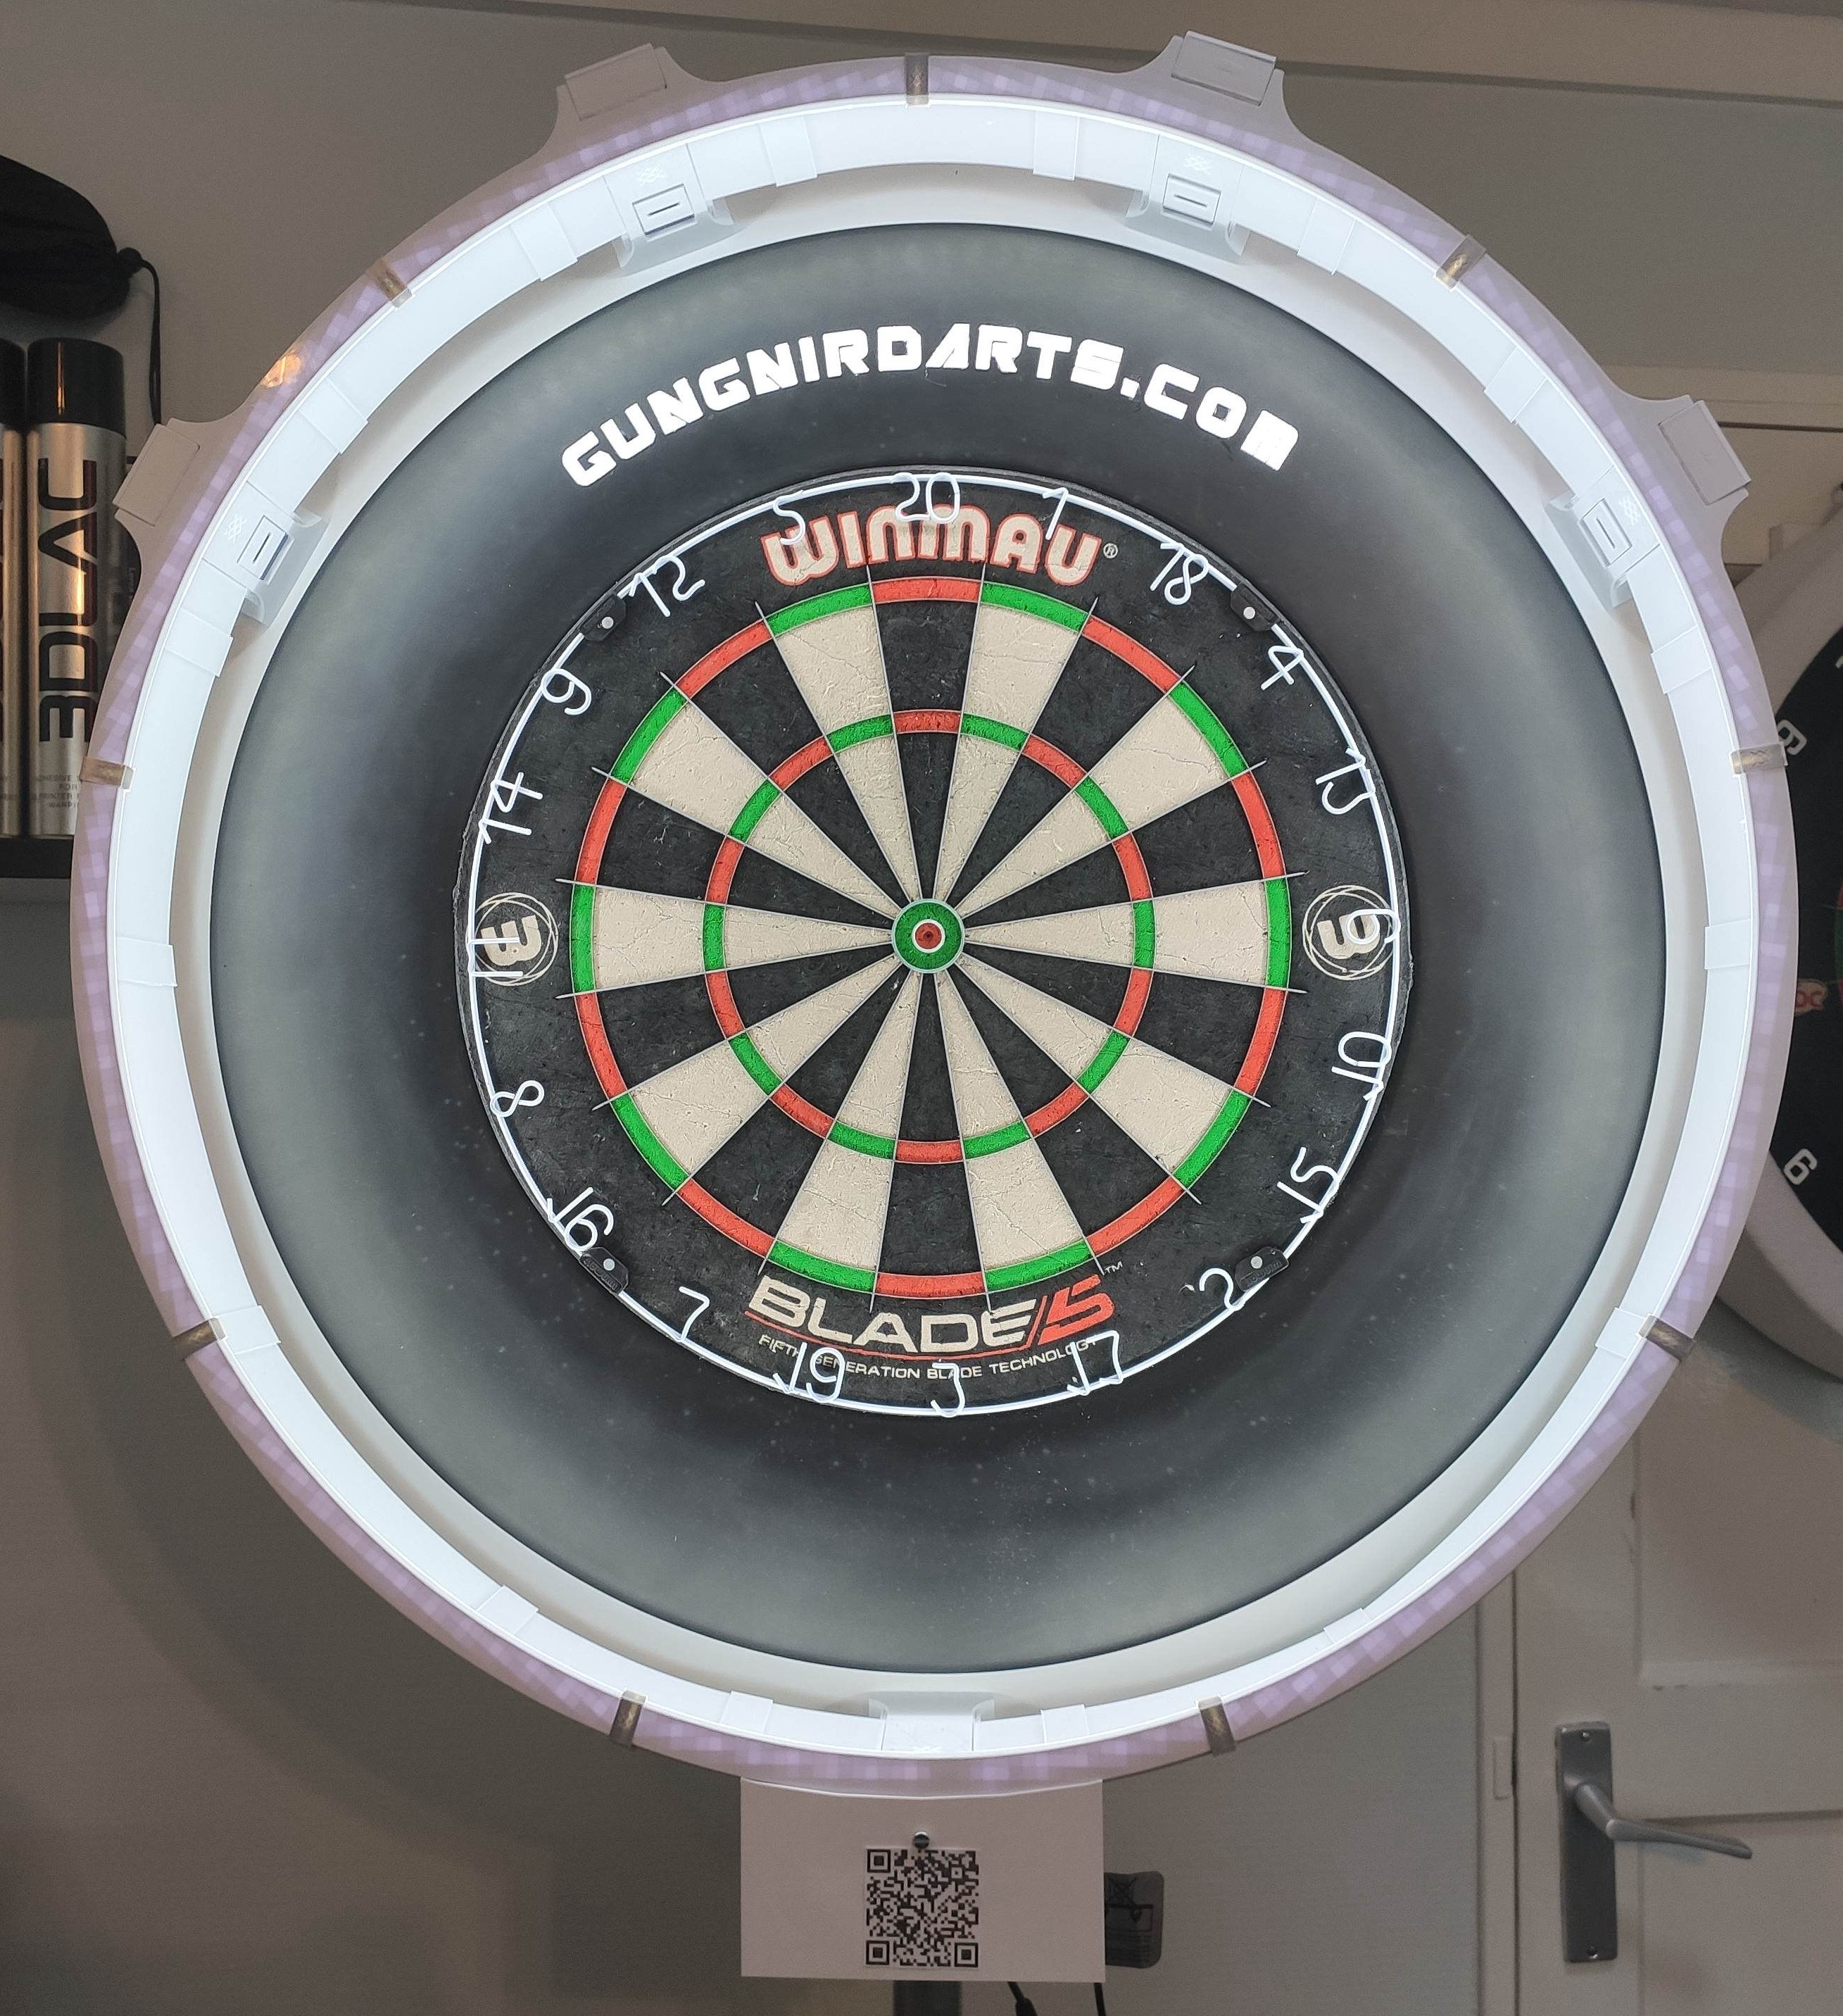
Make sure you have some kind of wooden backboard behind your dartboard.Mount the surround to the backboard while it's flat on a table (not vertically against the wall, you'll need more hands).
Make sure the outside of the feet are on a circle of 80 cm diameter.
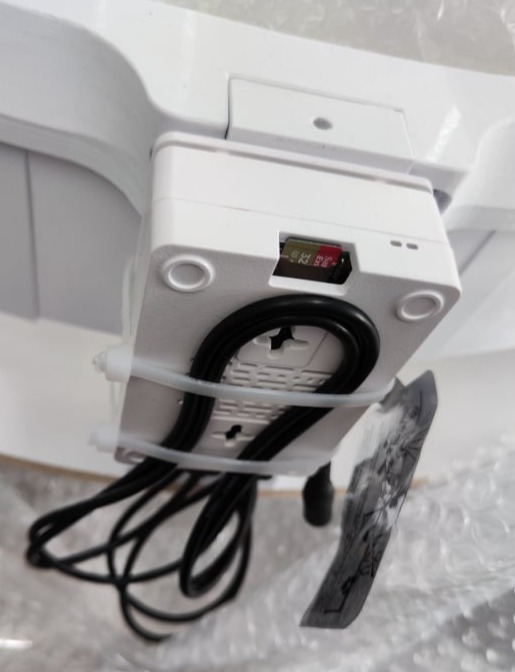
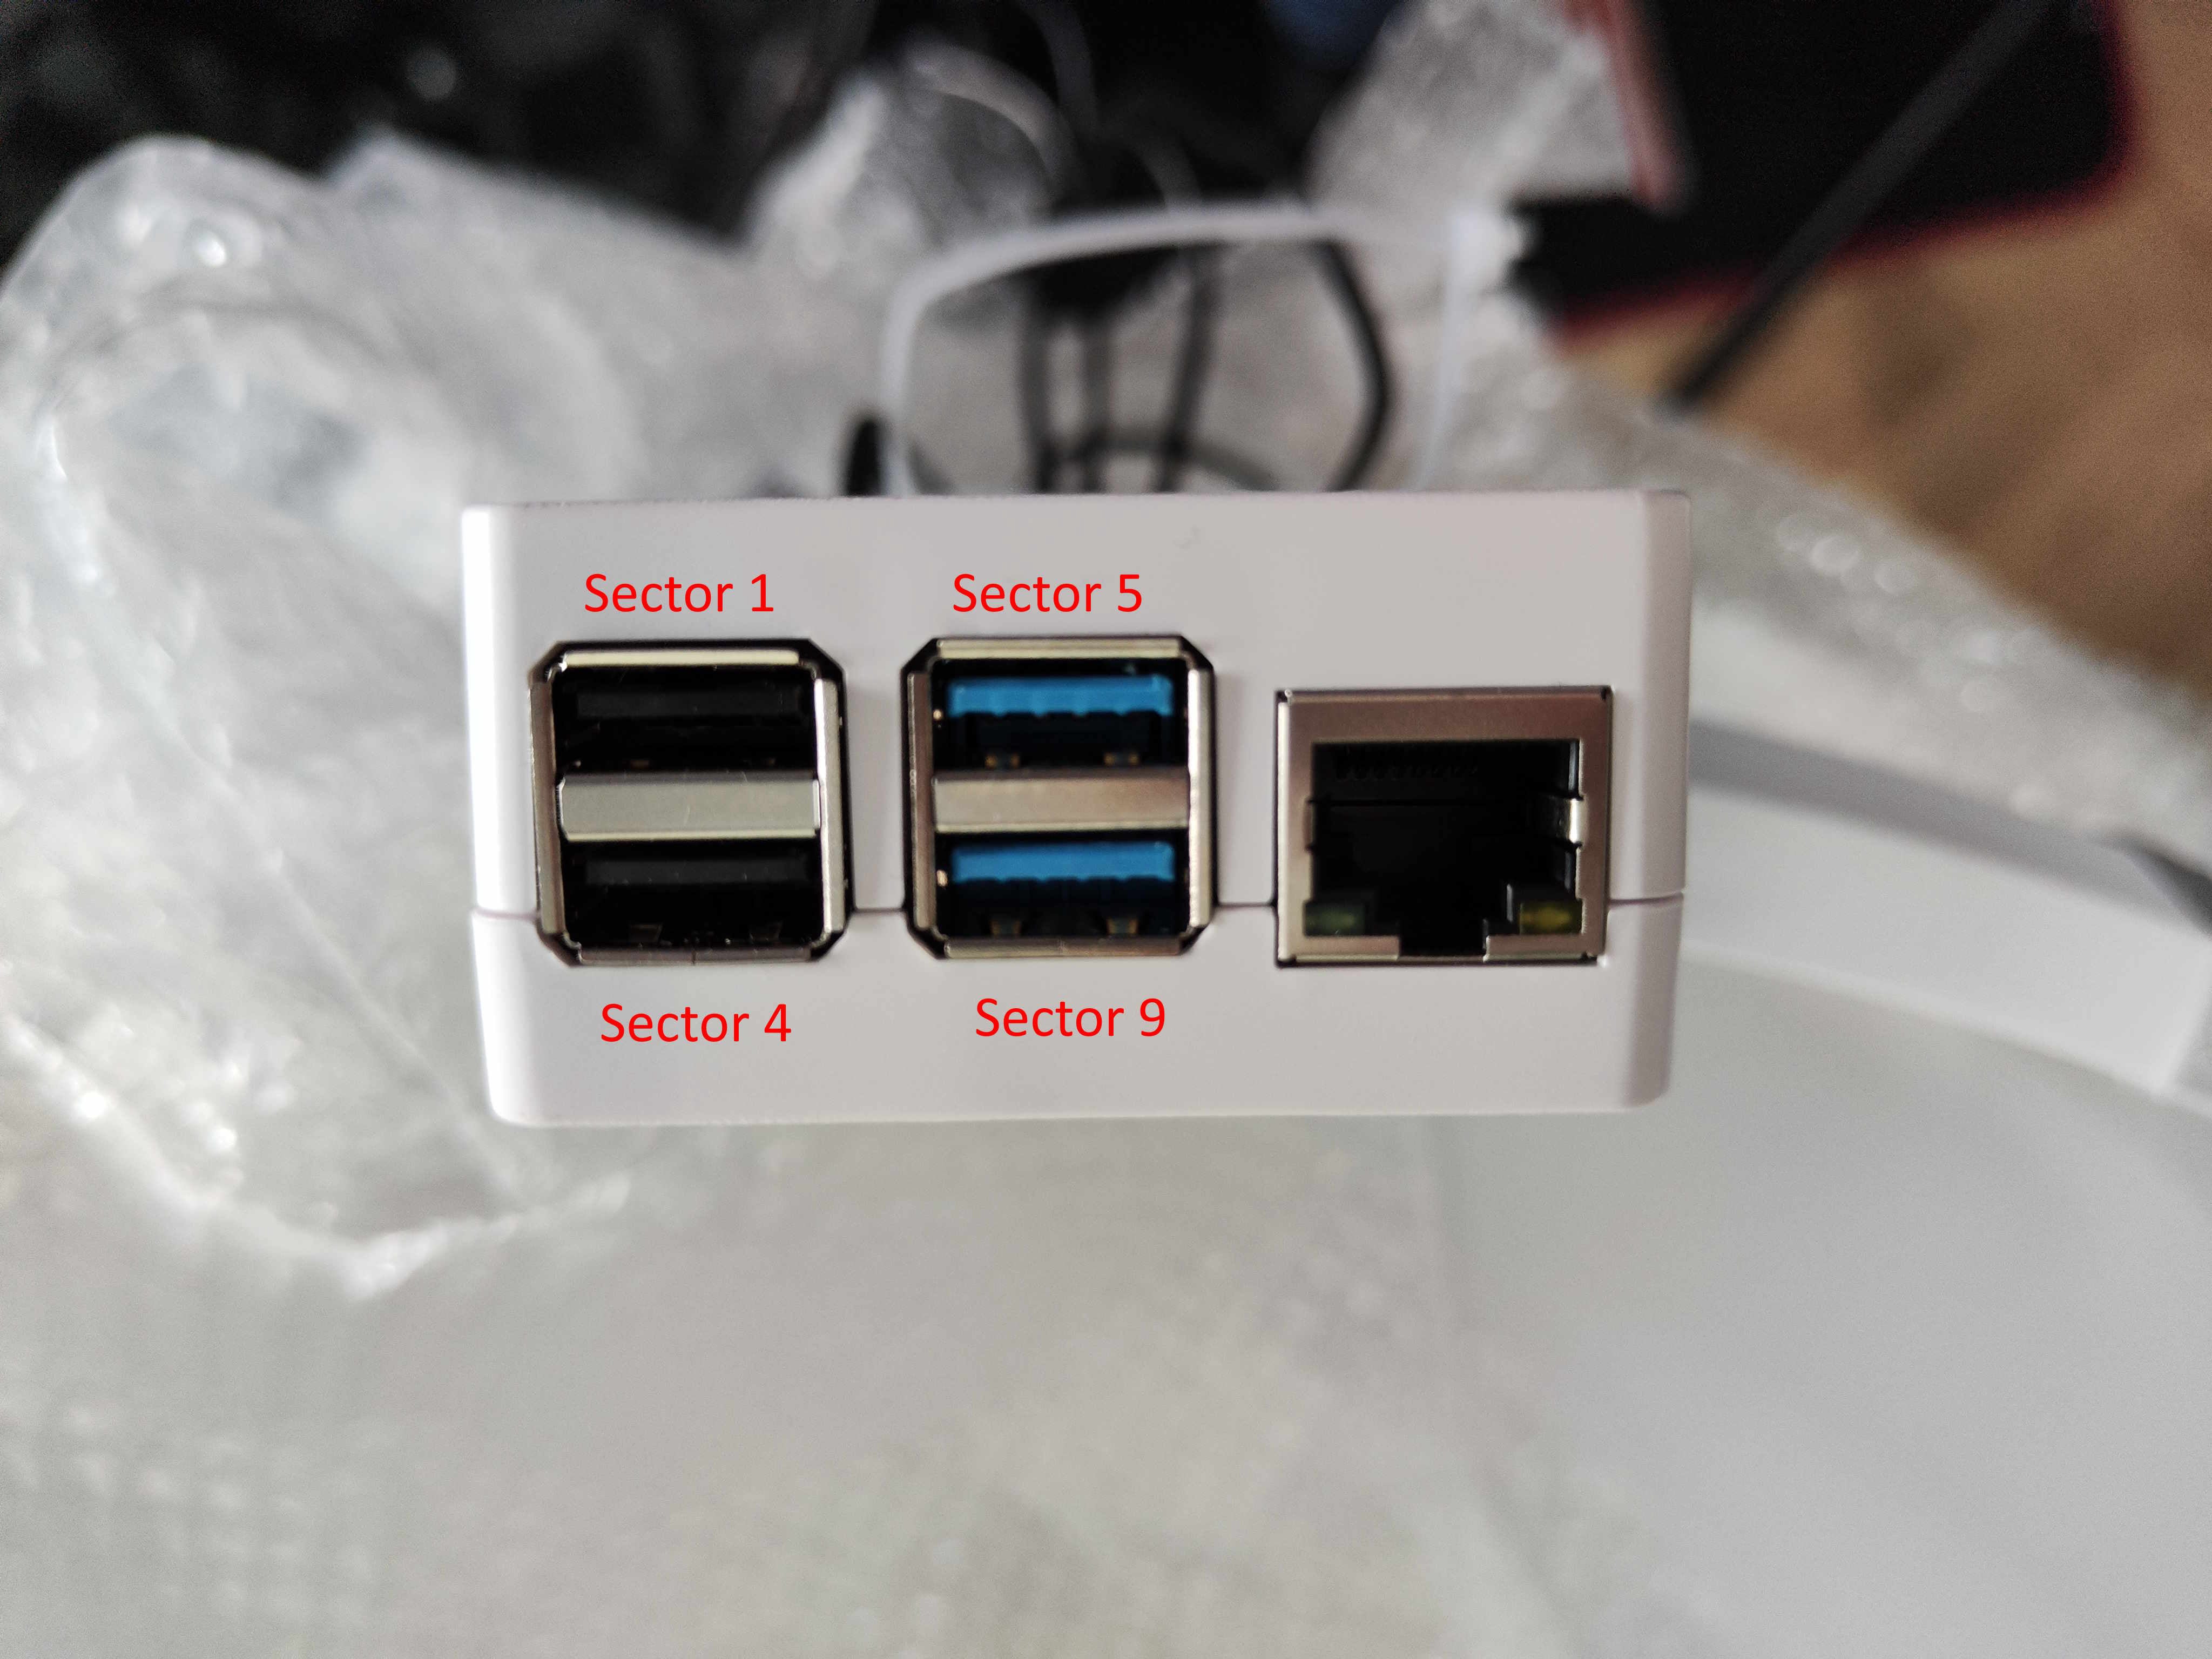
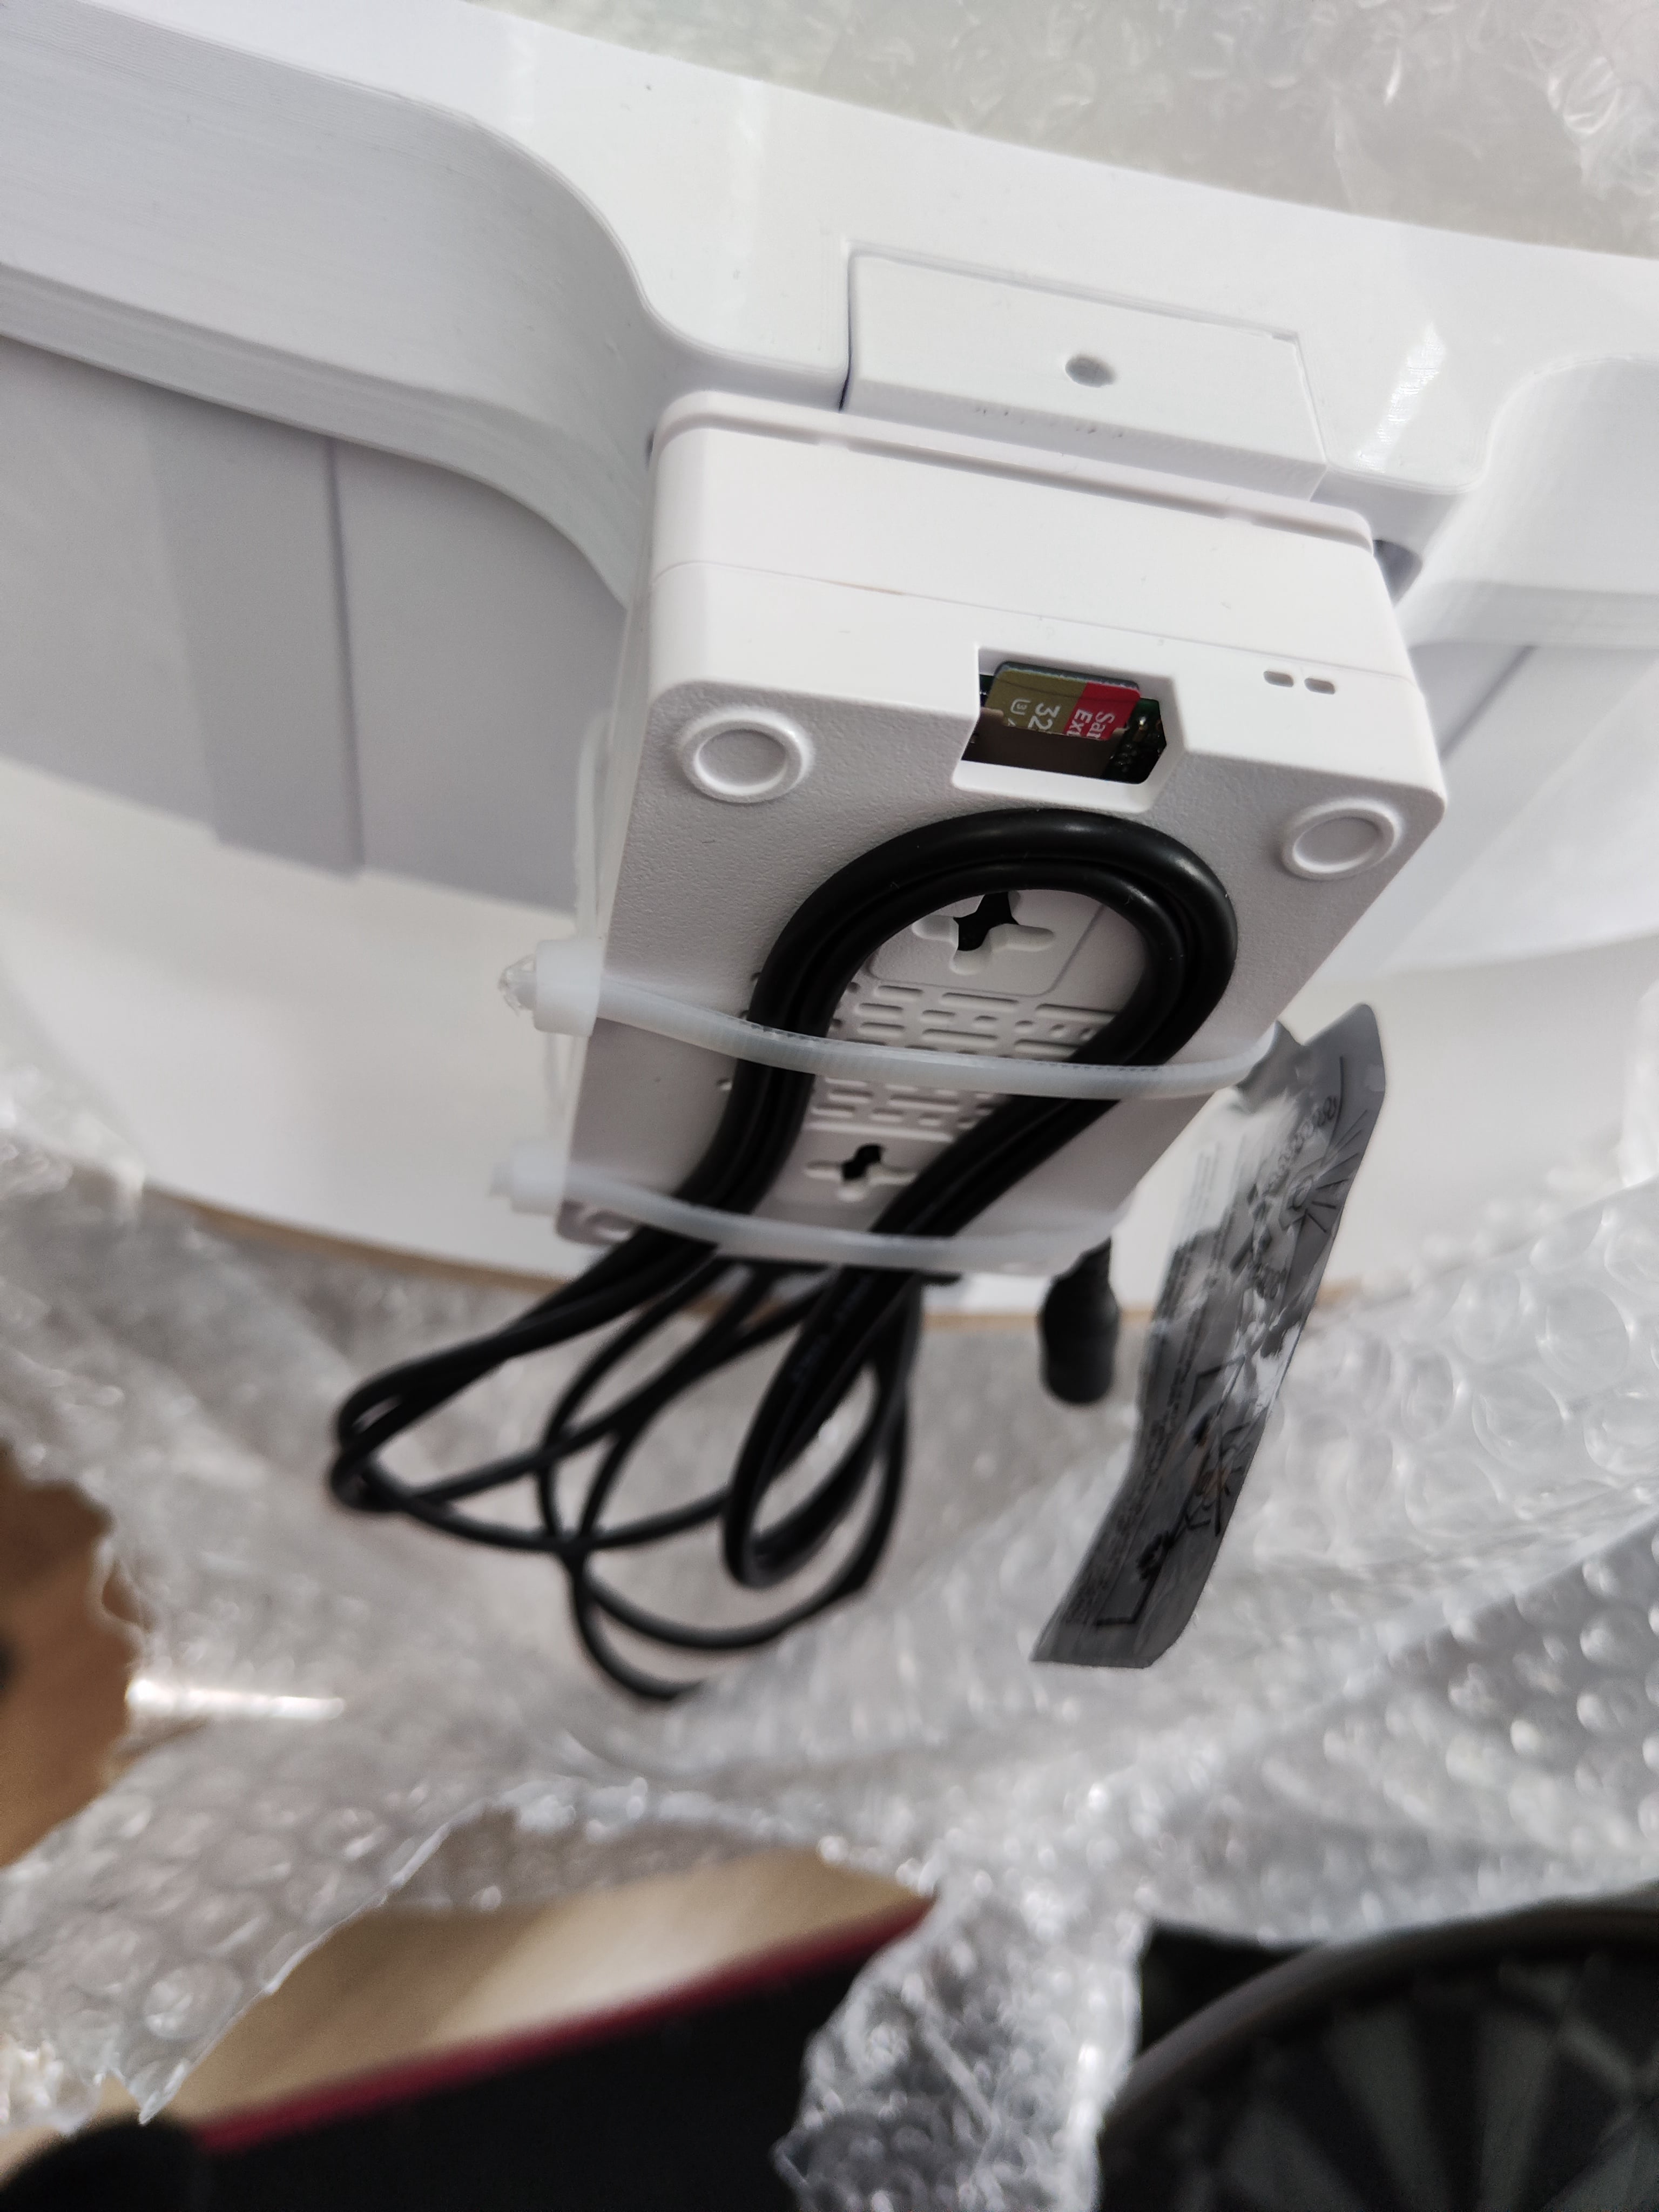
Mount the Raspberry PI.Check the image below to see which usb port should be connected to which camera. Use some tie wraps to attach the pi to the cable foot.
Connect the cables to the Raspberry PI. View picture below to see which camera to connect to which usb port.
Now follow the steps in theQuick Start Guideof the Gungnir Elite Dartstracker.